ServiceNow
Setup ServiceNow Developer Instance
Create Instance
Follow steps here
Acquire Relevant Instance Credentials
- Login into the developer site
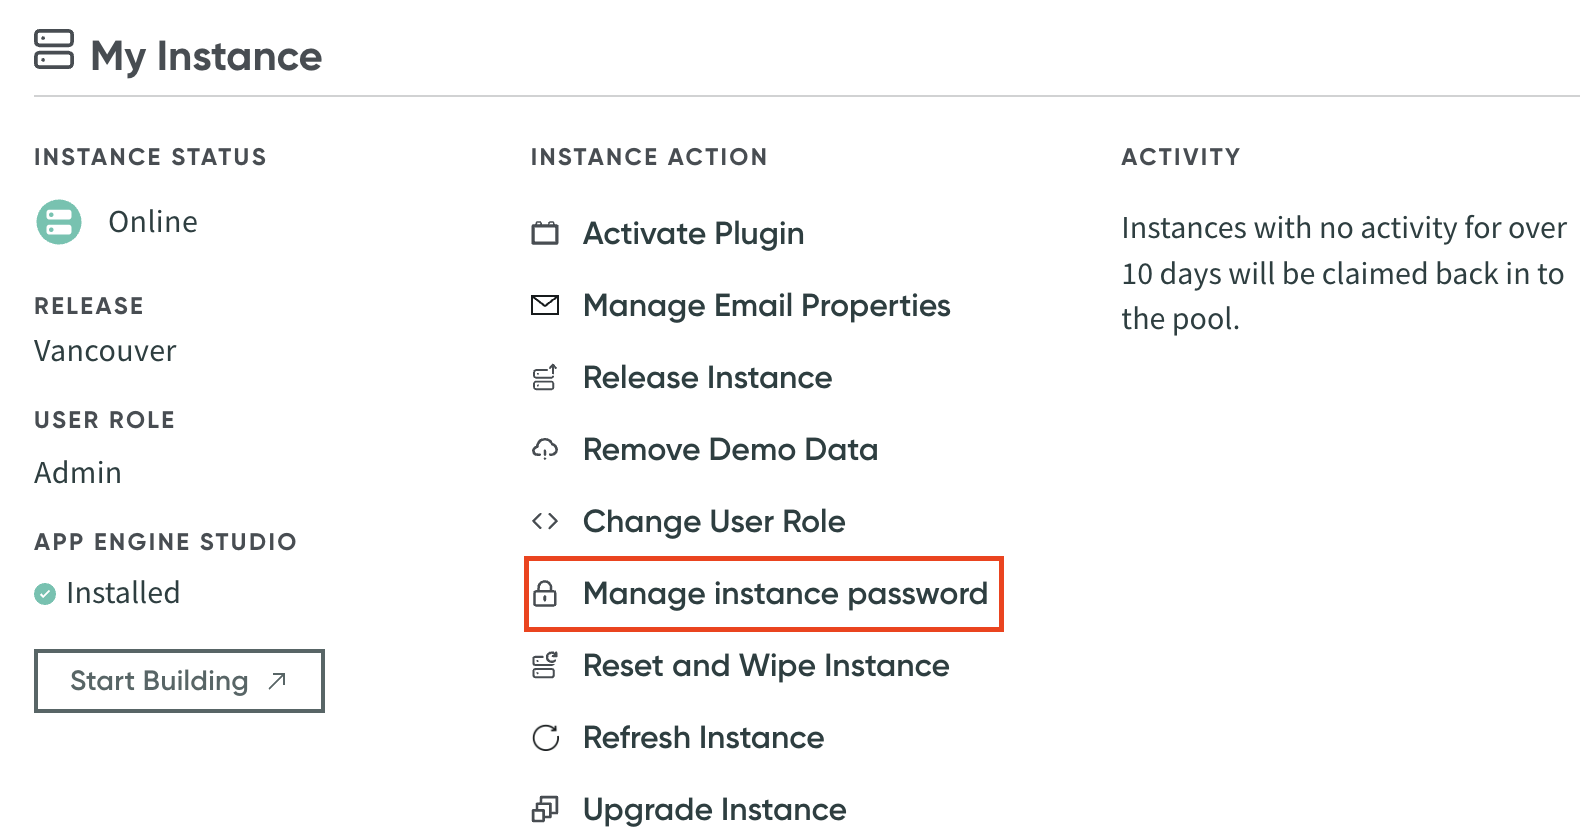
- Click on the drop down arrow near your profile in top right corner and select "Manage Instance Password"
- Save values for:
- Instance URL
- Username
- Password
- Exit. Within "My Instance" view, select "Start Building"
- Select "All" in the top navigation panel and search"System OAuth" and select "Applicaiton Registry"
- In the top right select "New" and select "Create an OAuth API endpoint for external clients"
- Enter necessary details and save the Client ID and Client Secret for later use
Assistant Integration
There are two ways in which the ServiceNow application can be integrated to the Assistant:
watsonx Orchestrate Skill
- Within the watsonx orchestrate platform, navigate to the sidebar and select "Chat"
- In the dropdown menu in the top select the right target Assistant environment
- Select "Add skills from the catalog" and select "ServiceNow"
- In the top right select "Connect App"
- Enter values Acquire Relevant Instance Credentials:
- Enpoint URL -> Step 3
- Username -> Step 3
- Password -> Step 3
- Client ID -> Step 7
- Client Secret -> Step 7
- Select "Connect App"
- Navigate to the platforms sidebar and select "AI Assistant Builder"
- Within the "Actions" section of the buider, select "New Action+" -> "Action from skills" -> appropriate ServiceNow skill
Assistant Custom Extension
Get Developer Instance Credentials and OpenAPI spec
- Login into the developer site
- Click on the drop down arrow near your profile in top right corner and select "Manage Instance Password"
- Make note of the "username" and "password" values (this will be used later)
- Exit out of the window and select "Start Building"
- Press "All" in the header and search "REST API Explorer"
- Press "Export OpenAPI Specification (YAML/JSON)"
Edit Service Now OpenAPI spec
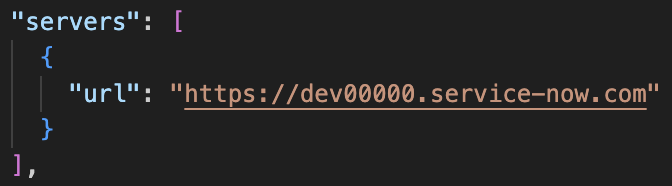
- Open the downloaded API spec
- Remove the forward slash at the end of the url string within the "servers" block to look like this:
- Add BasicAuth Component to the OpenAPI spec (make sure each block is comma delimited):
"components":{
    "securitySchemes": {
        "basicAuth": {
            "type": "http",
            "scheme": "basic"
        }
    }
} - Save file
Build Custom Extenstion
- Within watsonX Assistant, navigate to the sidebar and select "Integrations"
- Select "Build Custom Extension"
- For the "Basic Information" page fill out all appropriate fields and click "Next"
- Upload the Service Now OpenAPI spec, click "Next" and then "Finish"
- Within the extensions in Watson Assistant click "Add+" on the recently made Service Now custom extension
- On the Authentication page fill out the username and password fields with the values saved from "Get Developer Instance Credentials and OpenAPI spec" step 3
- Click "Next" and then "Finish"