watsonx Assistant
Pre-Requisites
- Access to watsonx Assistant
Create new Assistant
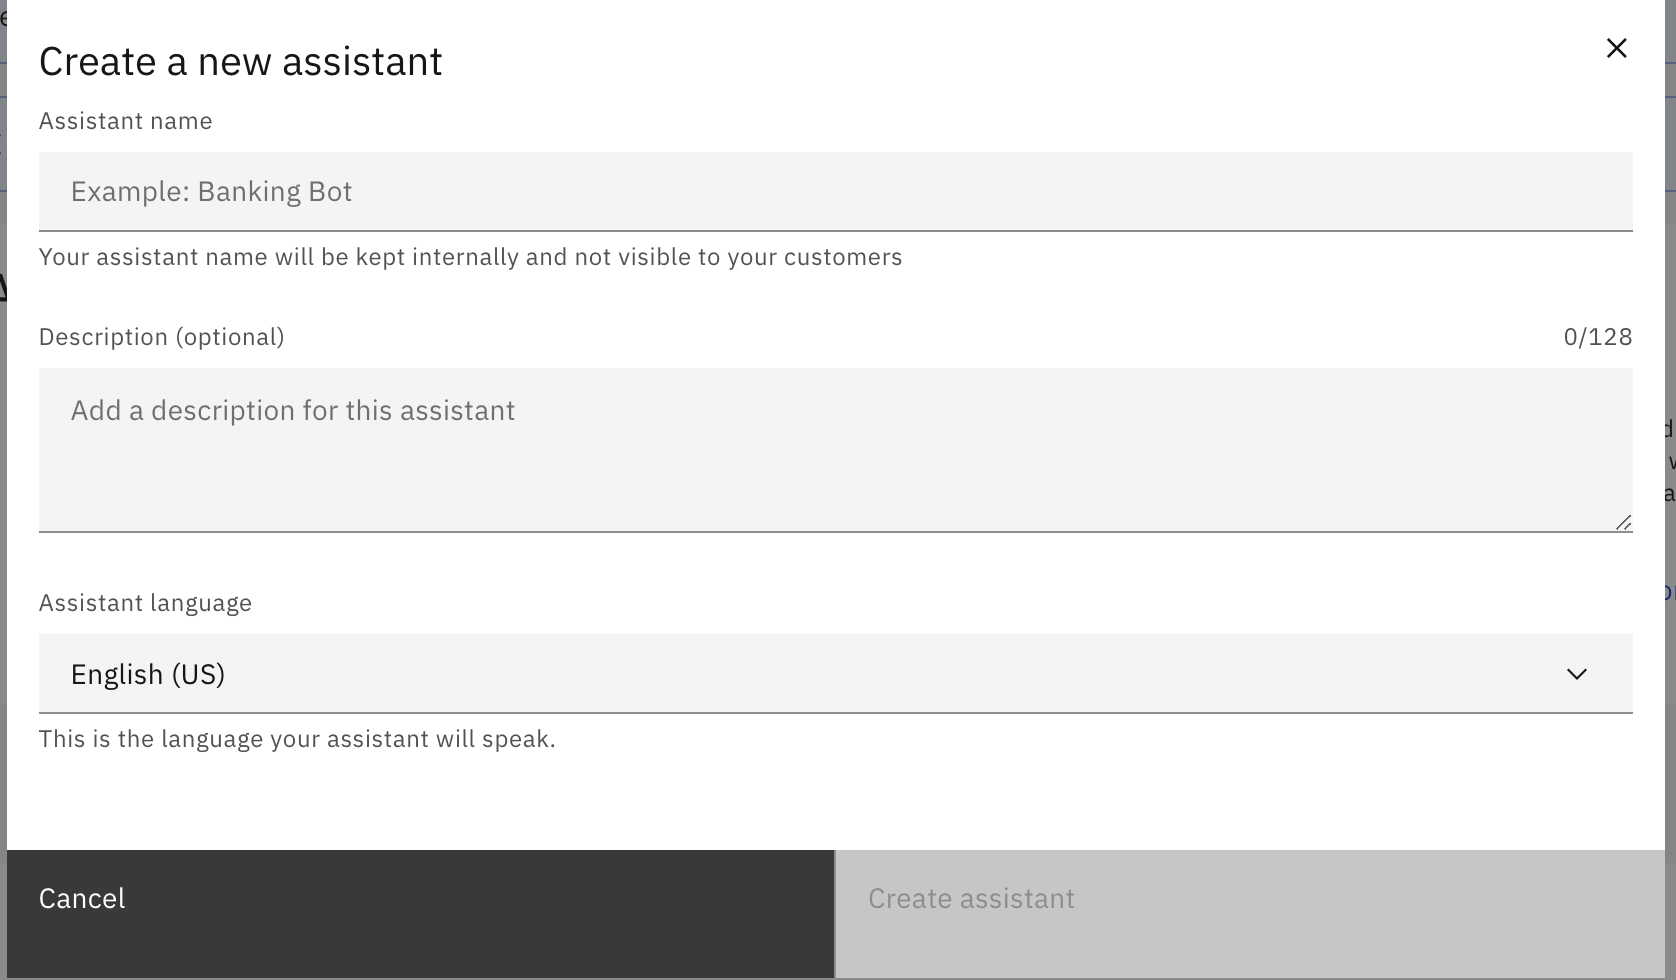
- When you first launch the experience, you’ll be prompted to create your first assistant:
- Give it a name that represents the domain of topics you want it to handle.
- Choose what language you want it to speak before continuing. watsonx Assistant can handle virtually any global language.
- From here, you’ll start on the home page of your brand-new assistant:
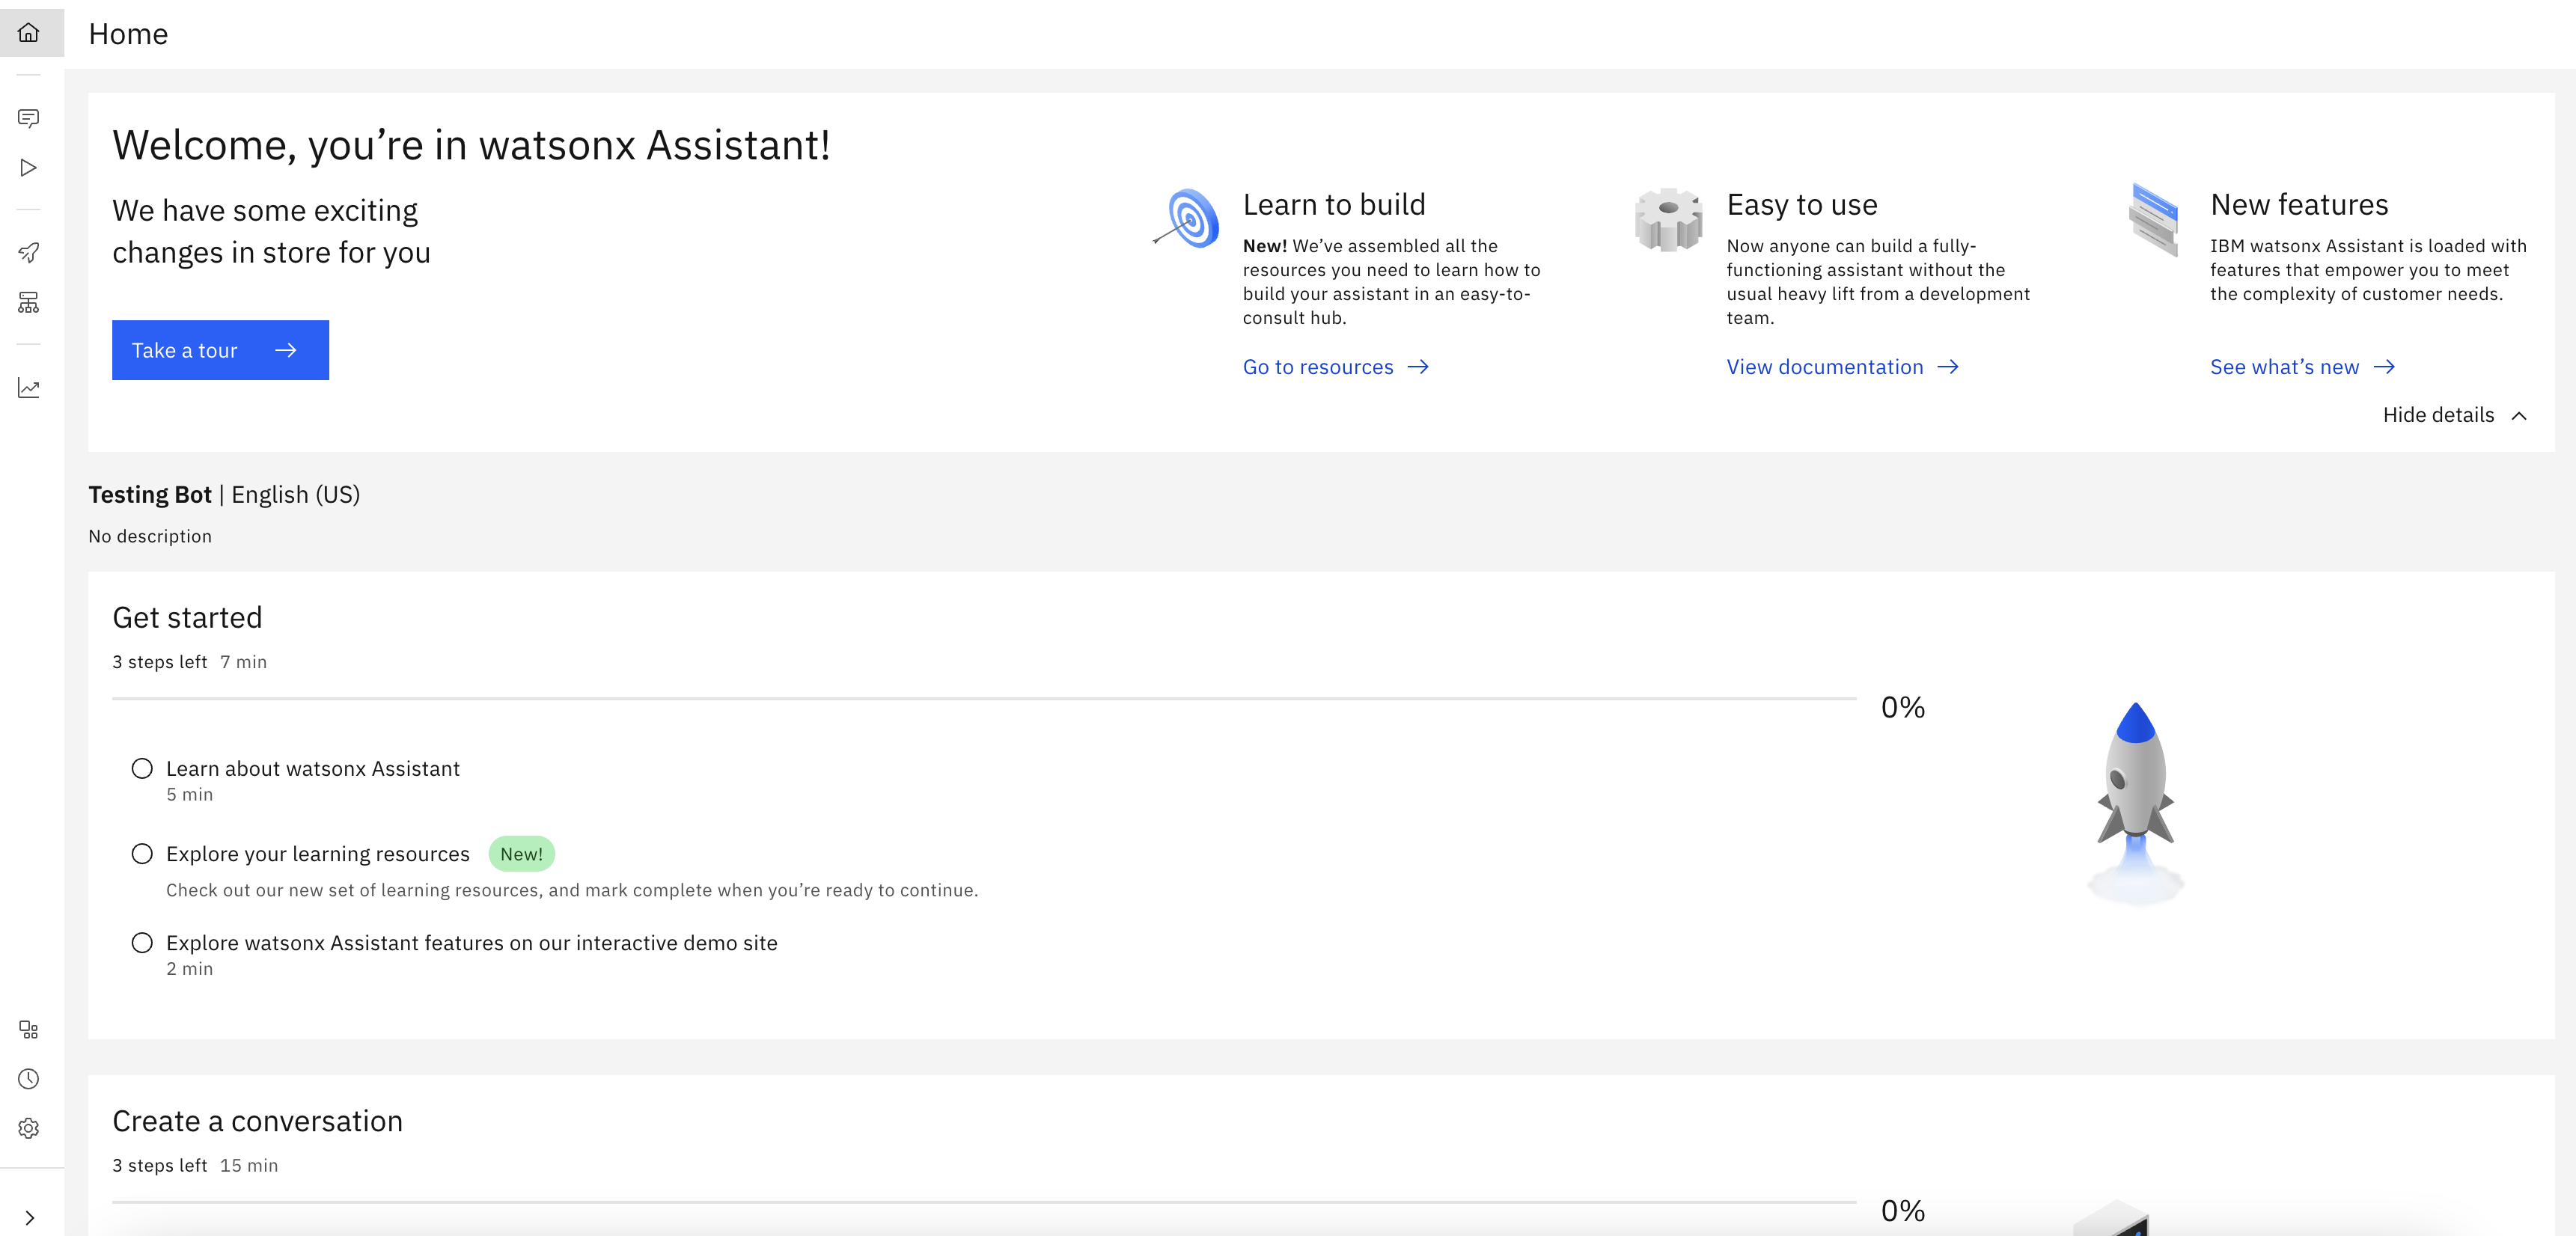
- Now it’s time to build your first conversation. Follow along with our example or create your own!
Upload/Download actions
To reinstate a backup copy of actions that you exported from another service instance or environment, import the JSON file of the actions you exported.
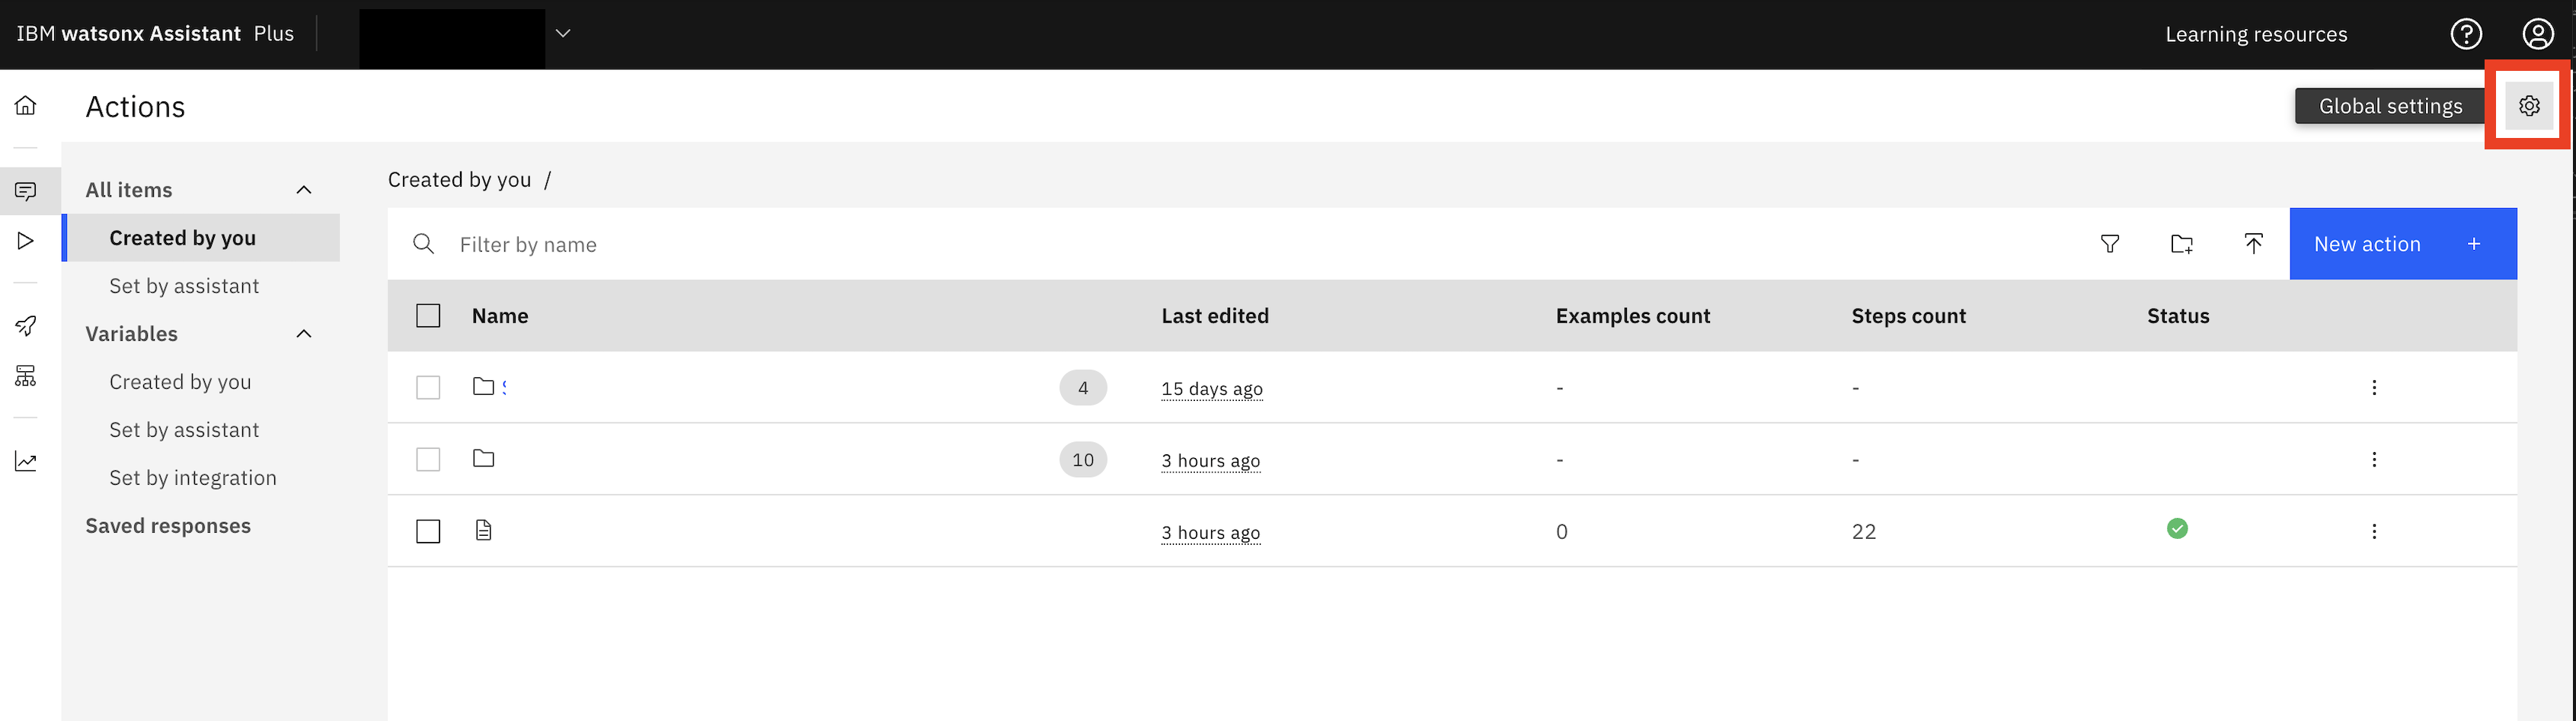
- On the Actions page, click Global settings Gear icon on upper-right corner.

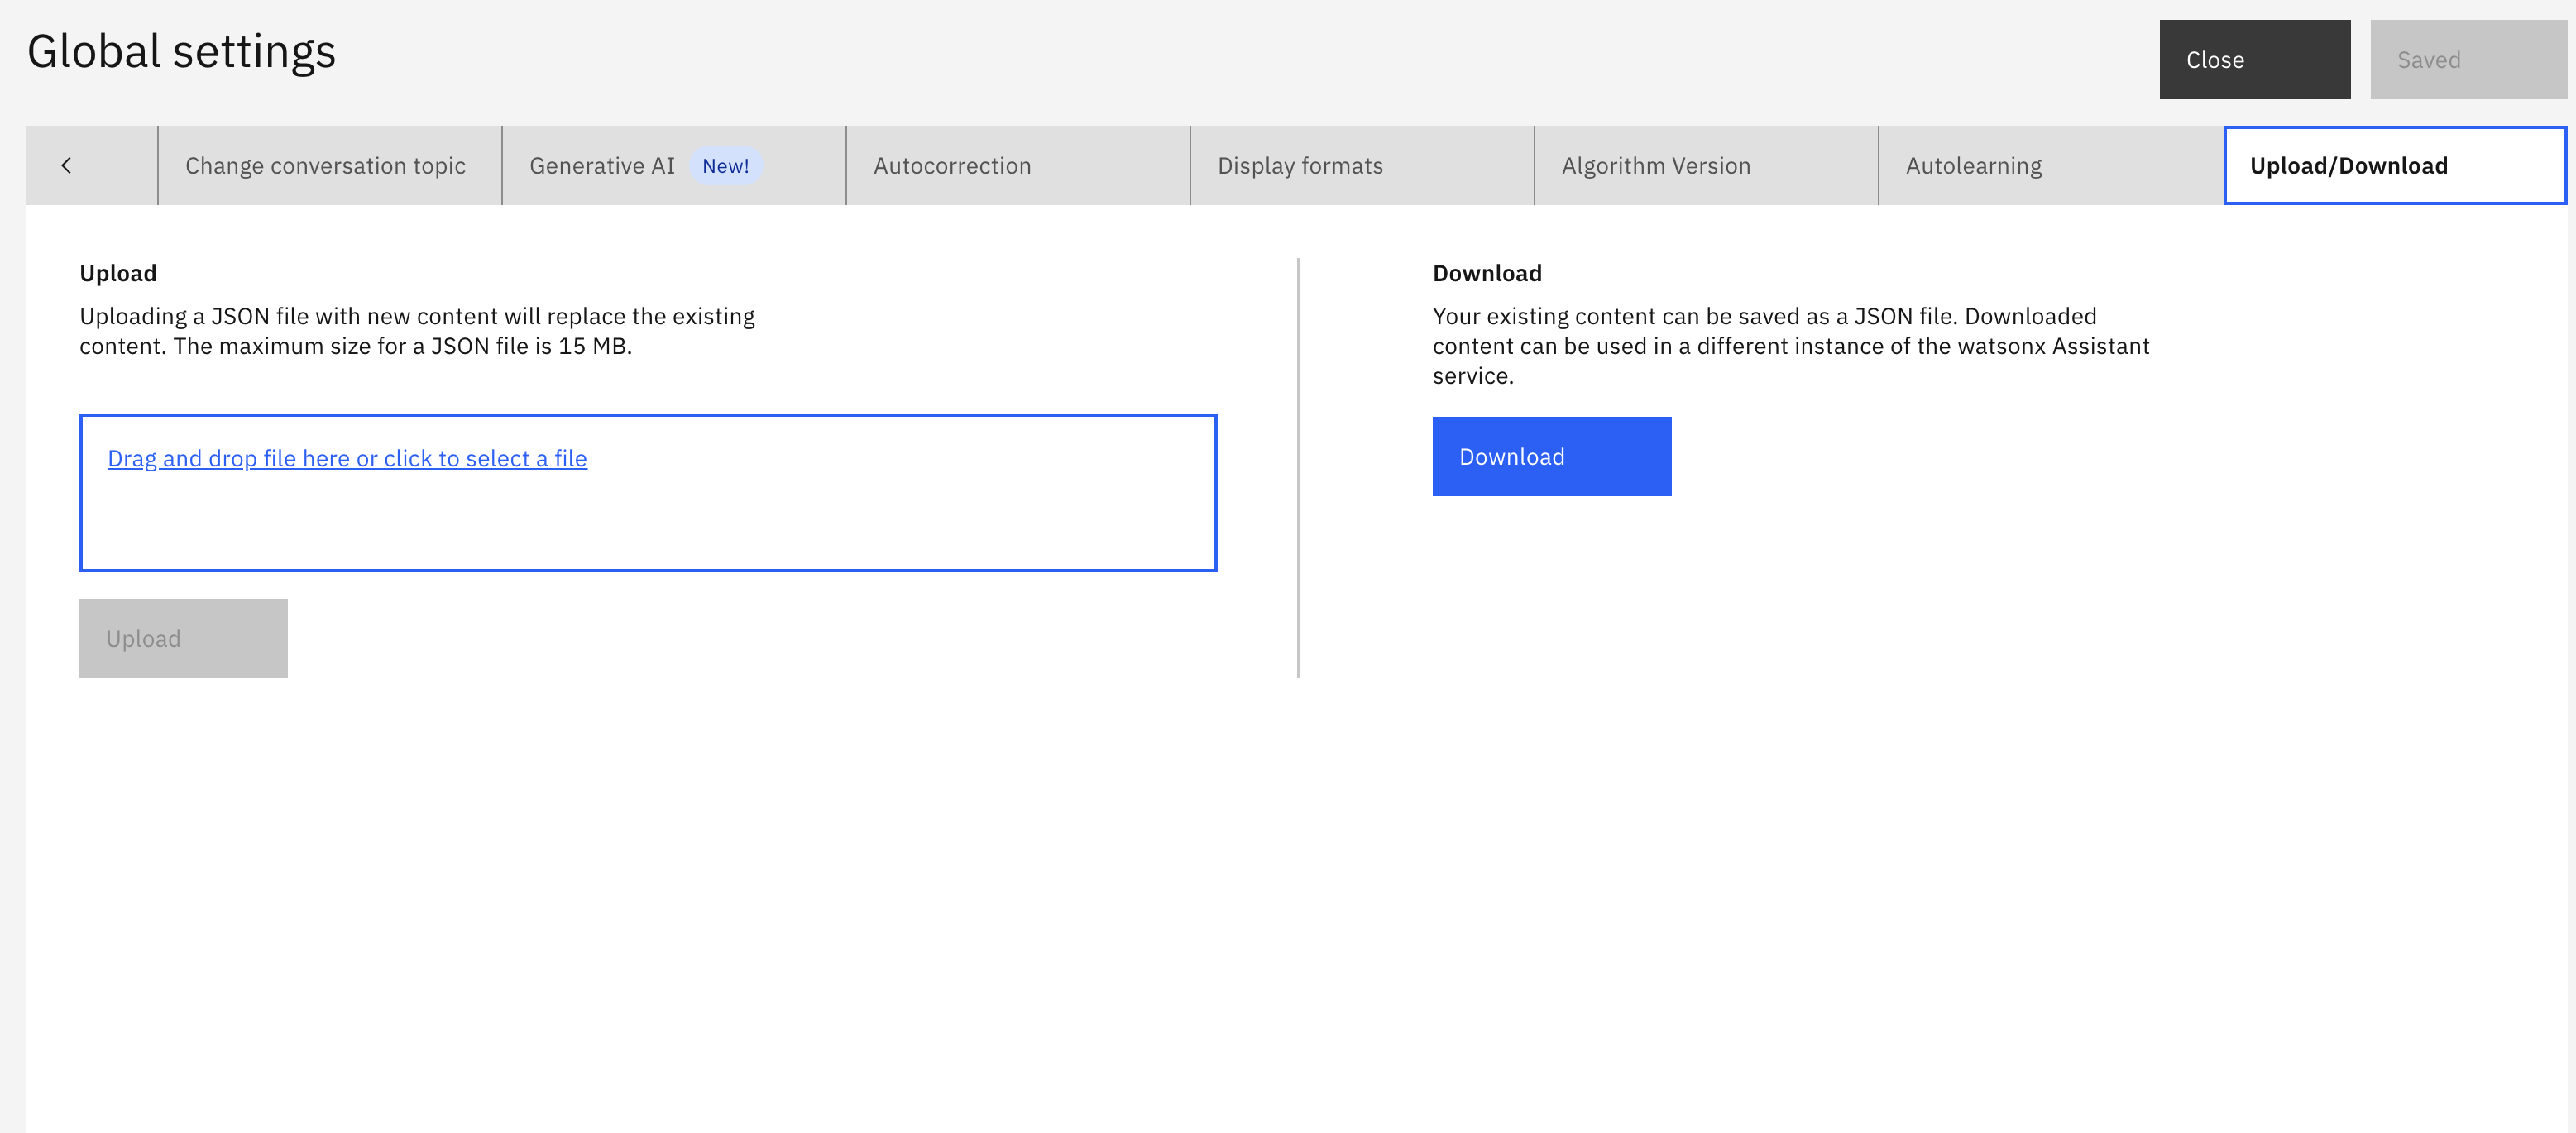
- To upload: On the Upload/Download tab, drag and drop a JSON file onto the tab or click to select a file from your local system, then click Upload.
- To download: On the Upload/Download tab, click on the "Download" button to export action.json file.
- Reference: Uploading or downloading all actions
Create Custom Extension: NeuralSeek
Pre-Requisites
- Access to NeuralSeek instance that has been integrated with Watson Discovery and watsonx.ai
Create NeuralSeek custom extension
- In Watson Assistant, on the "Integrations" tab of Watson Assistant, click "Build Custom Extension" then "Next".
- Name the extension "NeuralSeek" and give a brief description. Click "Next".
- Open another browser tab and navigate to NeuralSeek -> "Integrate" tab -> Download "Custom Extension OpenApi File".
- Navigate to Watson Assitant browser tab. Upload NeuralSeek OpenApi file into Waston Assiatant. Click "Next" then "Finish".
- On the new "NeuralSeek" extension tile that appears, click "Add", "Add", then "Next".
- On the authentication screen, select "API key auth", and enter your api key as shown in NeuralSeek "Integrate" page.
- Click "Next", "Finish", then "Close".
Create WA action to trigger NeuralSeek Search
- On the "Actions" tab of Watson Assistant, click "Create Action". Choose "Quick Start with templates", then select "NeuralSeek Starter Kit" -> "Select this starter kit" -> "Add templatess".
- Open the "NeuralSeek Search" action.
- In step 3, in the "And then" section, click "edit extension",
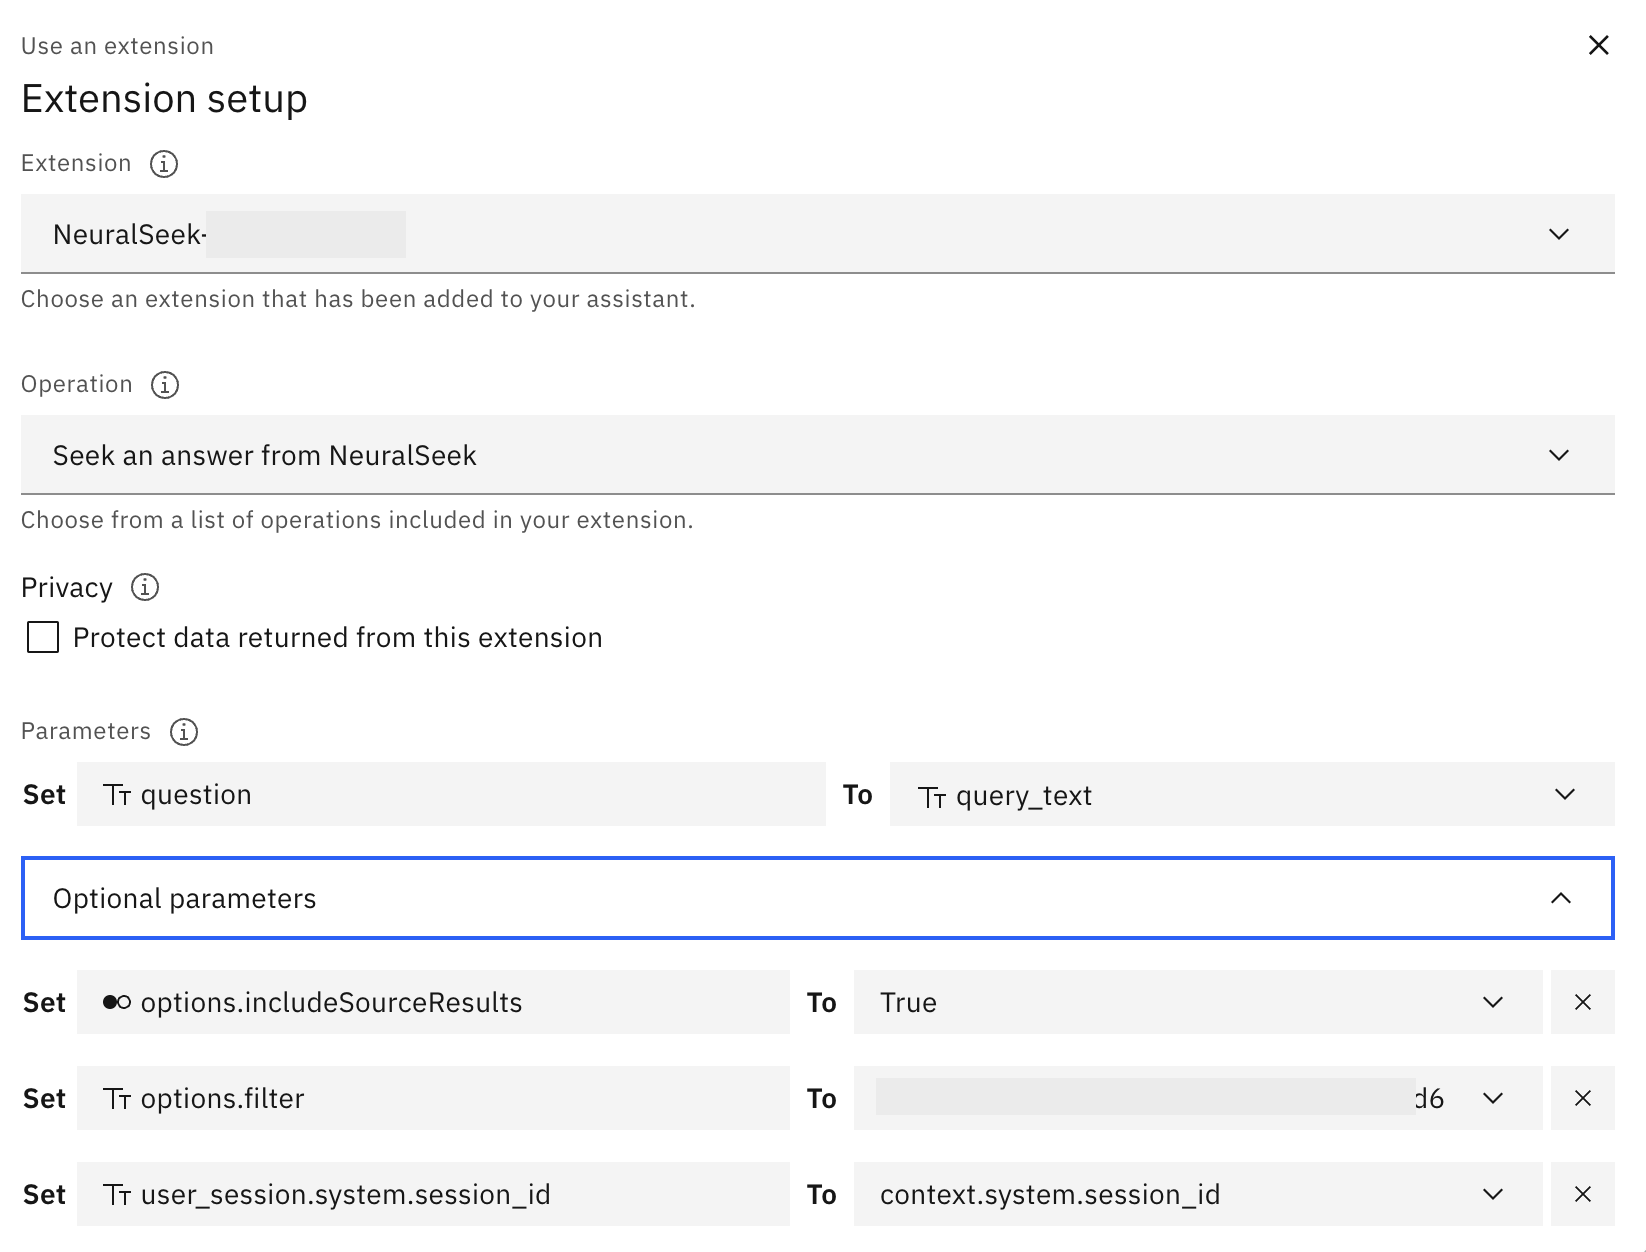
- in the Extension dropdown select "NeuralSeek"
- in the Operation dropdown select "Seek an answer from NeuralSeek".
- Set parameters.
- Set
questionToquery_text. - Set
user_session.system.session_idto Expressioncontext.system.session_id. - Set
options.includeSourceResultstoTrue
- Set
- "Save" and "Close" action
Extension setup will look similar to screenshot below
No action matches Setup
- Navigate to "All items" -> "Set by assistant" -> "No action matches".
- Click on the "No action matches" action and delete existing steps.
- Click "New Step". In the "And then" section, select "go to a subaction" -> select "NeuralSeek Search" in the dropdown options -> "Apply".
- "Save" and "Close"
Create Custom Extension: ServiceNow
Prerequisites
- Service Now Developer Instance
- Follow steps here
Get Developer Instance Credentials and OpenAPI spec
- Login into the developer site
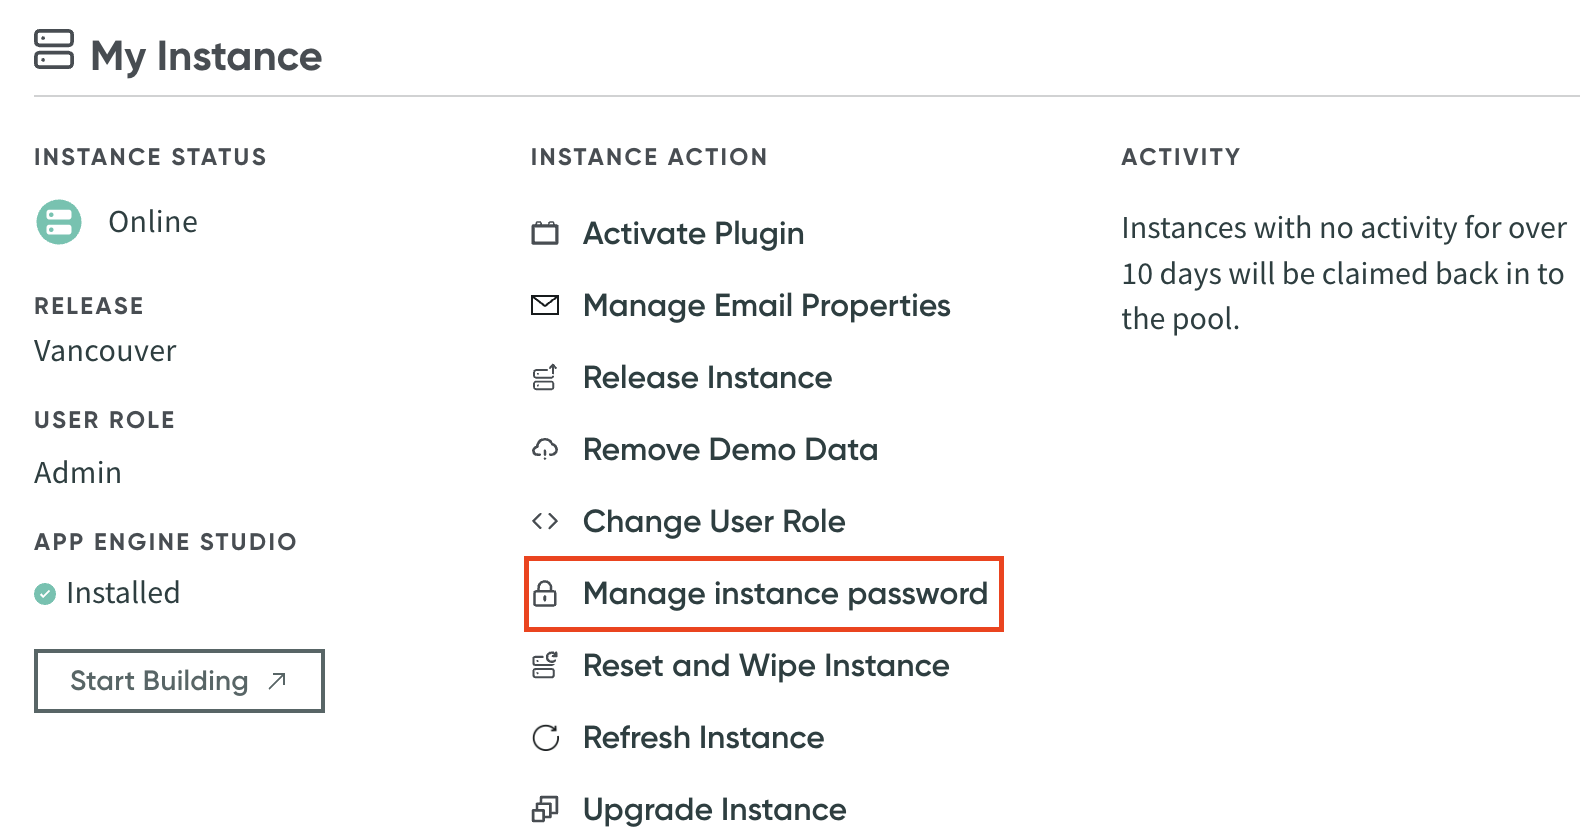
- Click on the drop down arrow near your profile in top right corner and select "Manage Instance Password"
- Make note of the "username" and "password" values (this will be used later)
- Exit out of the window and select "Start Building"
- Press "All" in the header and search "REST API Explorer"
- Press "Export OpenAPI Specification (JSON)"
Edit Service Now OpenAPI spec
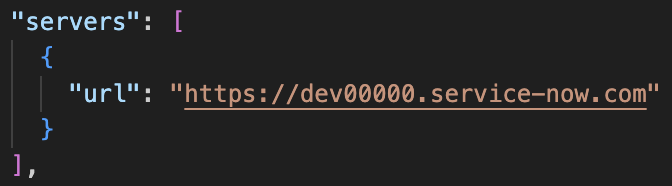
- Open the downloaded API spec
- Remove the forward slash at the end of the url string within the "servers" block to look like this:
- Add BasicAuth Component to the OpenAPI spec (make sure each block is comma delimited):
"components":{
    "securitySchemes": {
        "basicAuth": {
            "type": "http",
            "scheme": "basic"
        }
    }
} - Save file
Build ServiceNow Custom Extenstion
- Within WatsonX Assistant, navigate to the sidebar and select "Integrations"
- Select "Build Custom Extension"
- For the "Basic Information" page fill out all appropriate fields and click "Next"
- Upload the Service Now OpenAPI spec, click "Next" and then "Finish"
- Within the extensions in watsonx Assistant click "Add+" on the recently made ServiceNow custom extension
- On the Authentication page fill out the username and password fields with the values saved from "Get Developer Instance Credentials and OpenAPI spec" step 3
- Click "Next" and then "Finish"
Modify AI Assistant
Conversation Starters
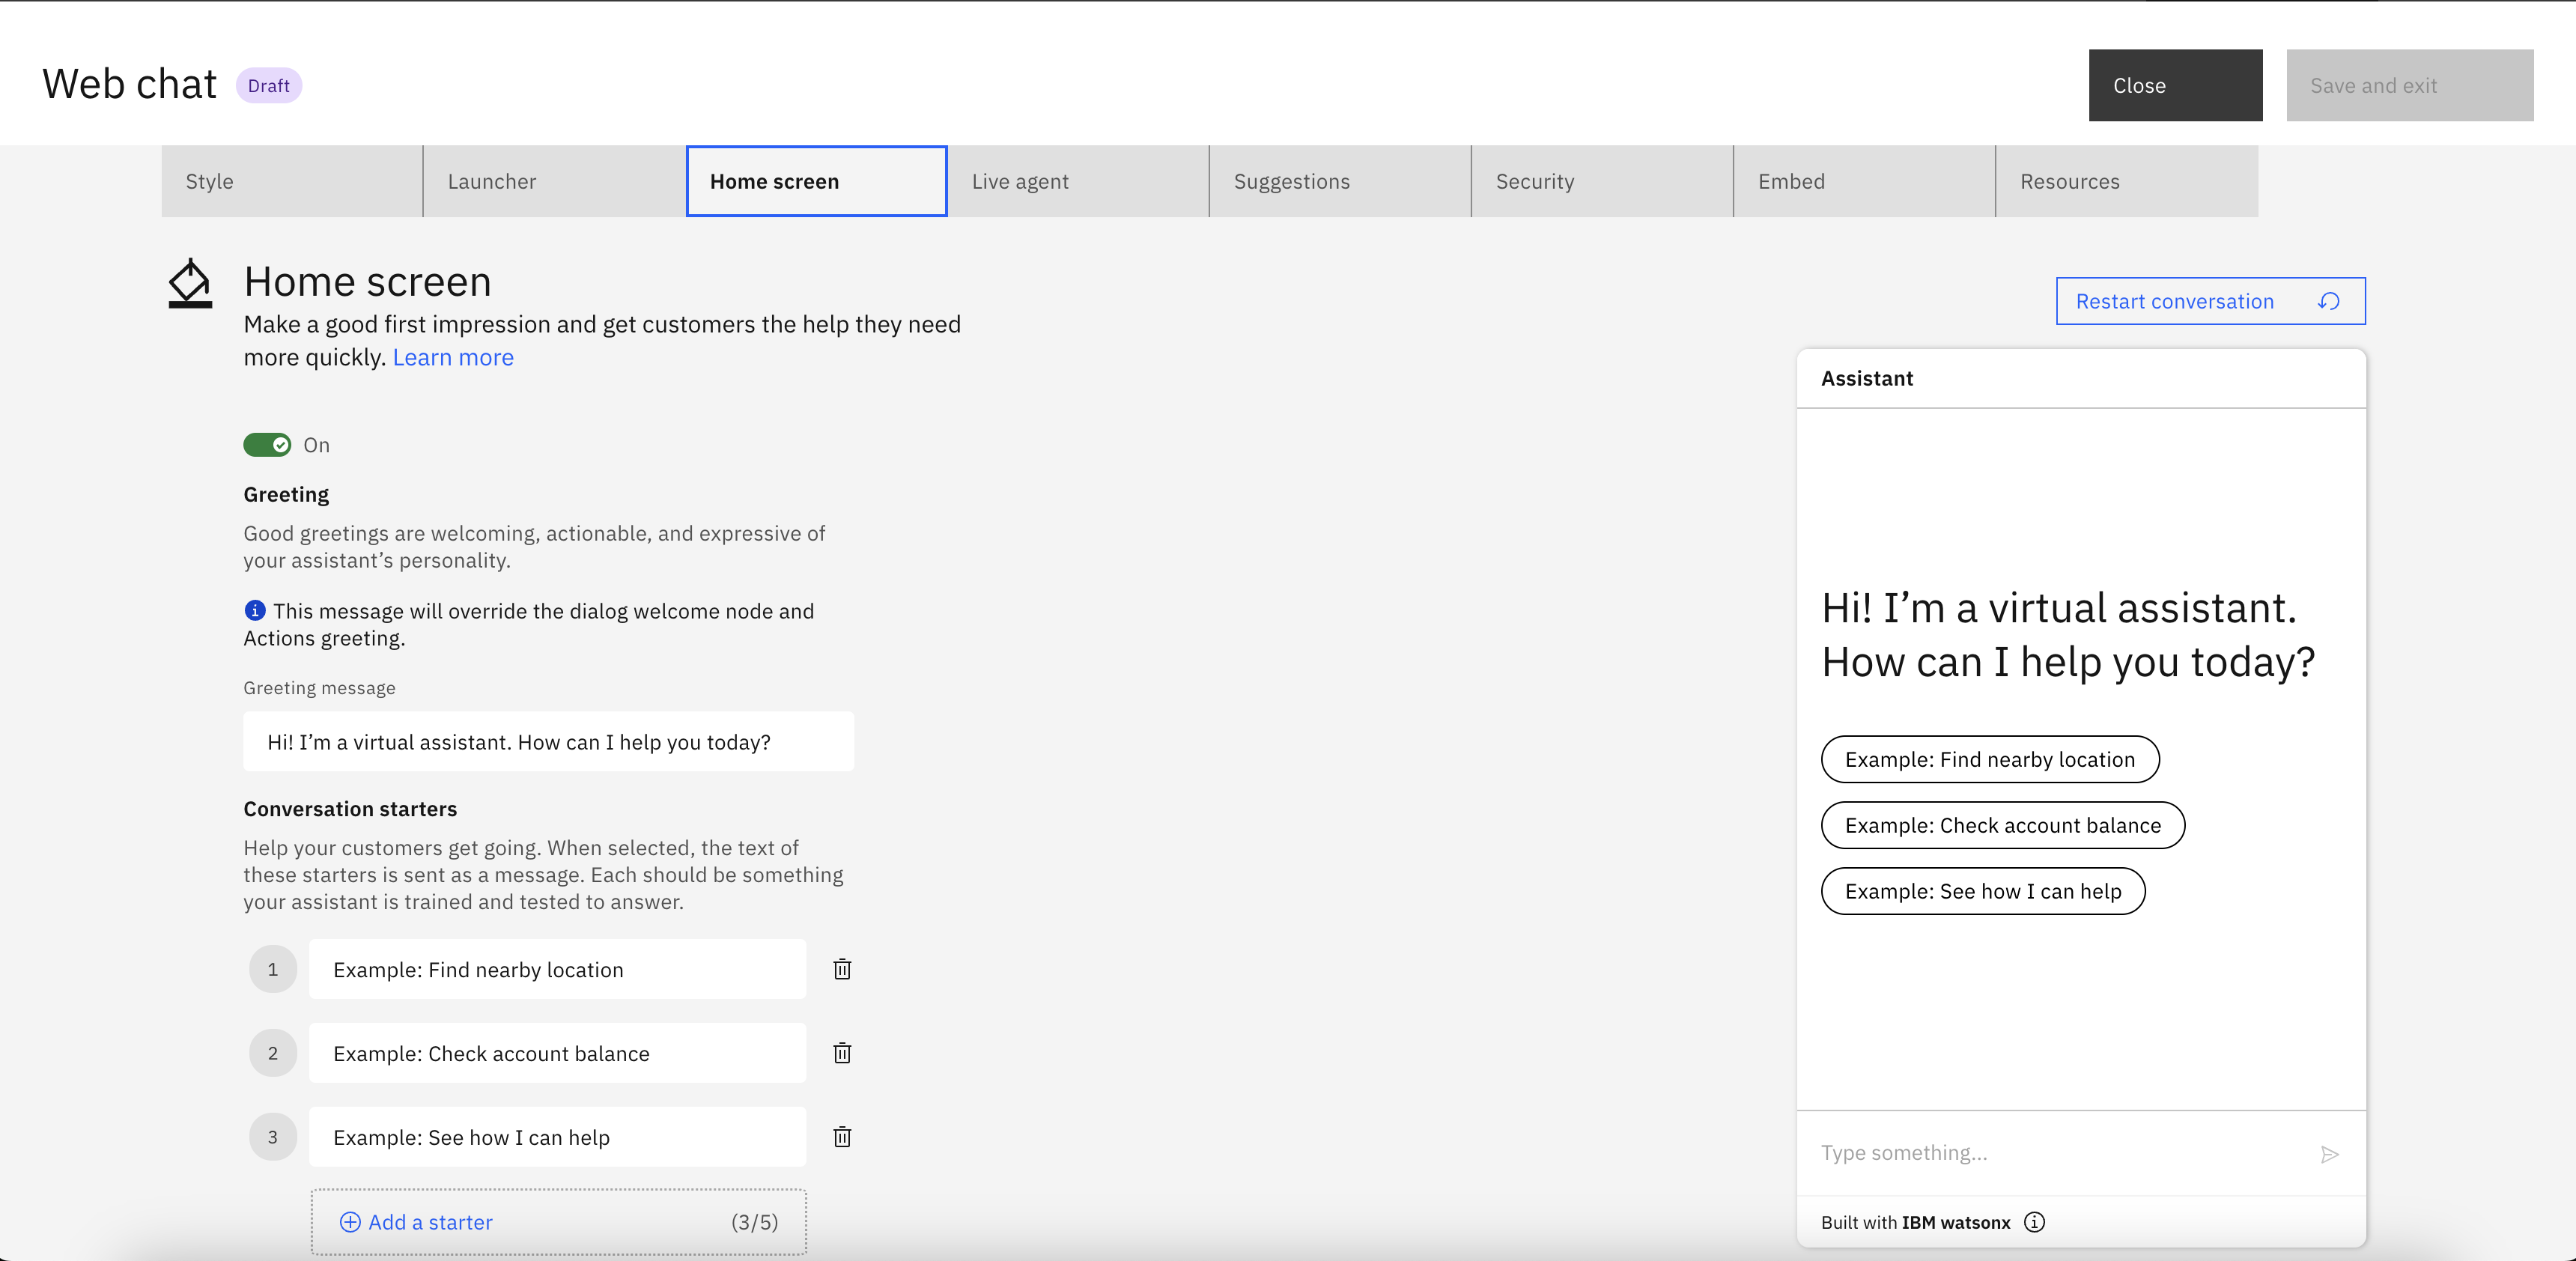
- Navigate to the "Preview" tab. Click the blue "Customize web chat" button.
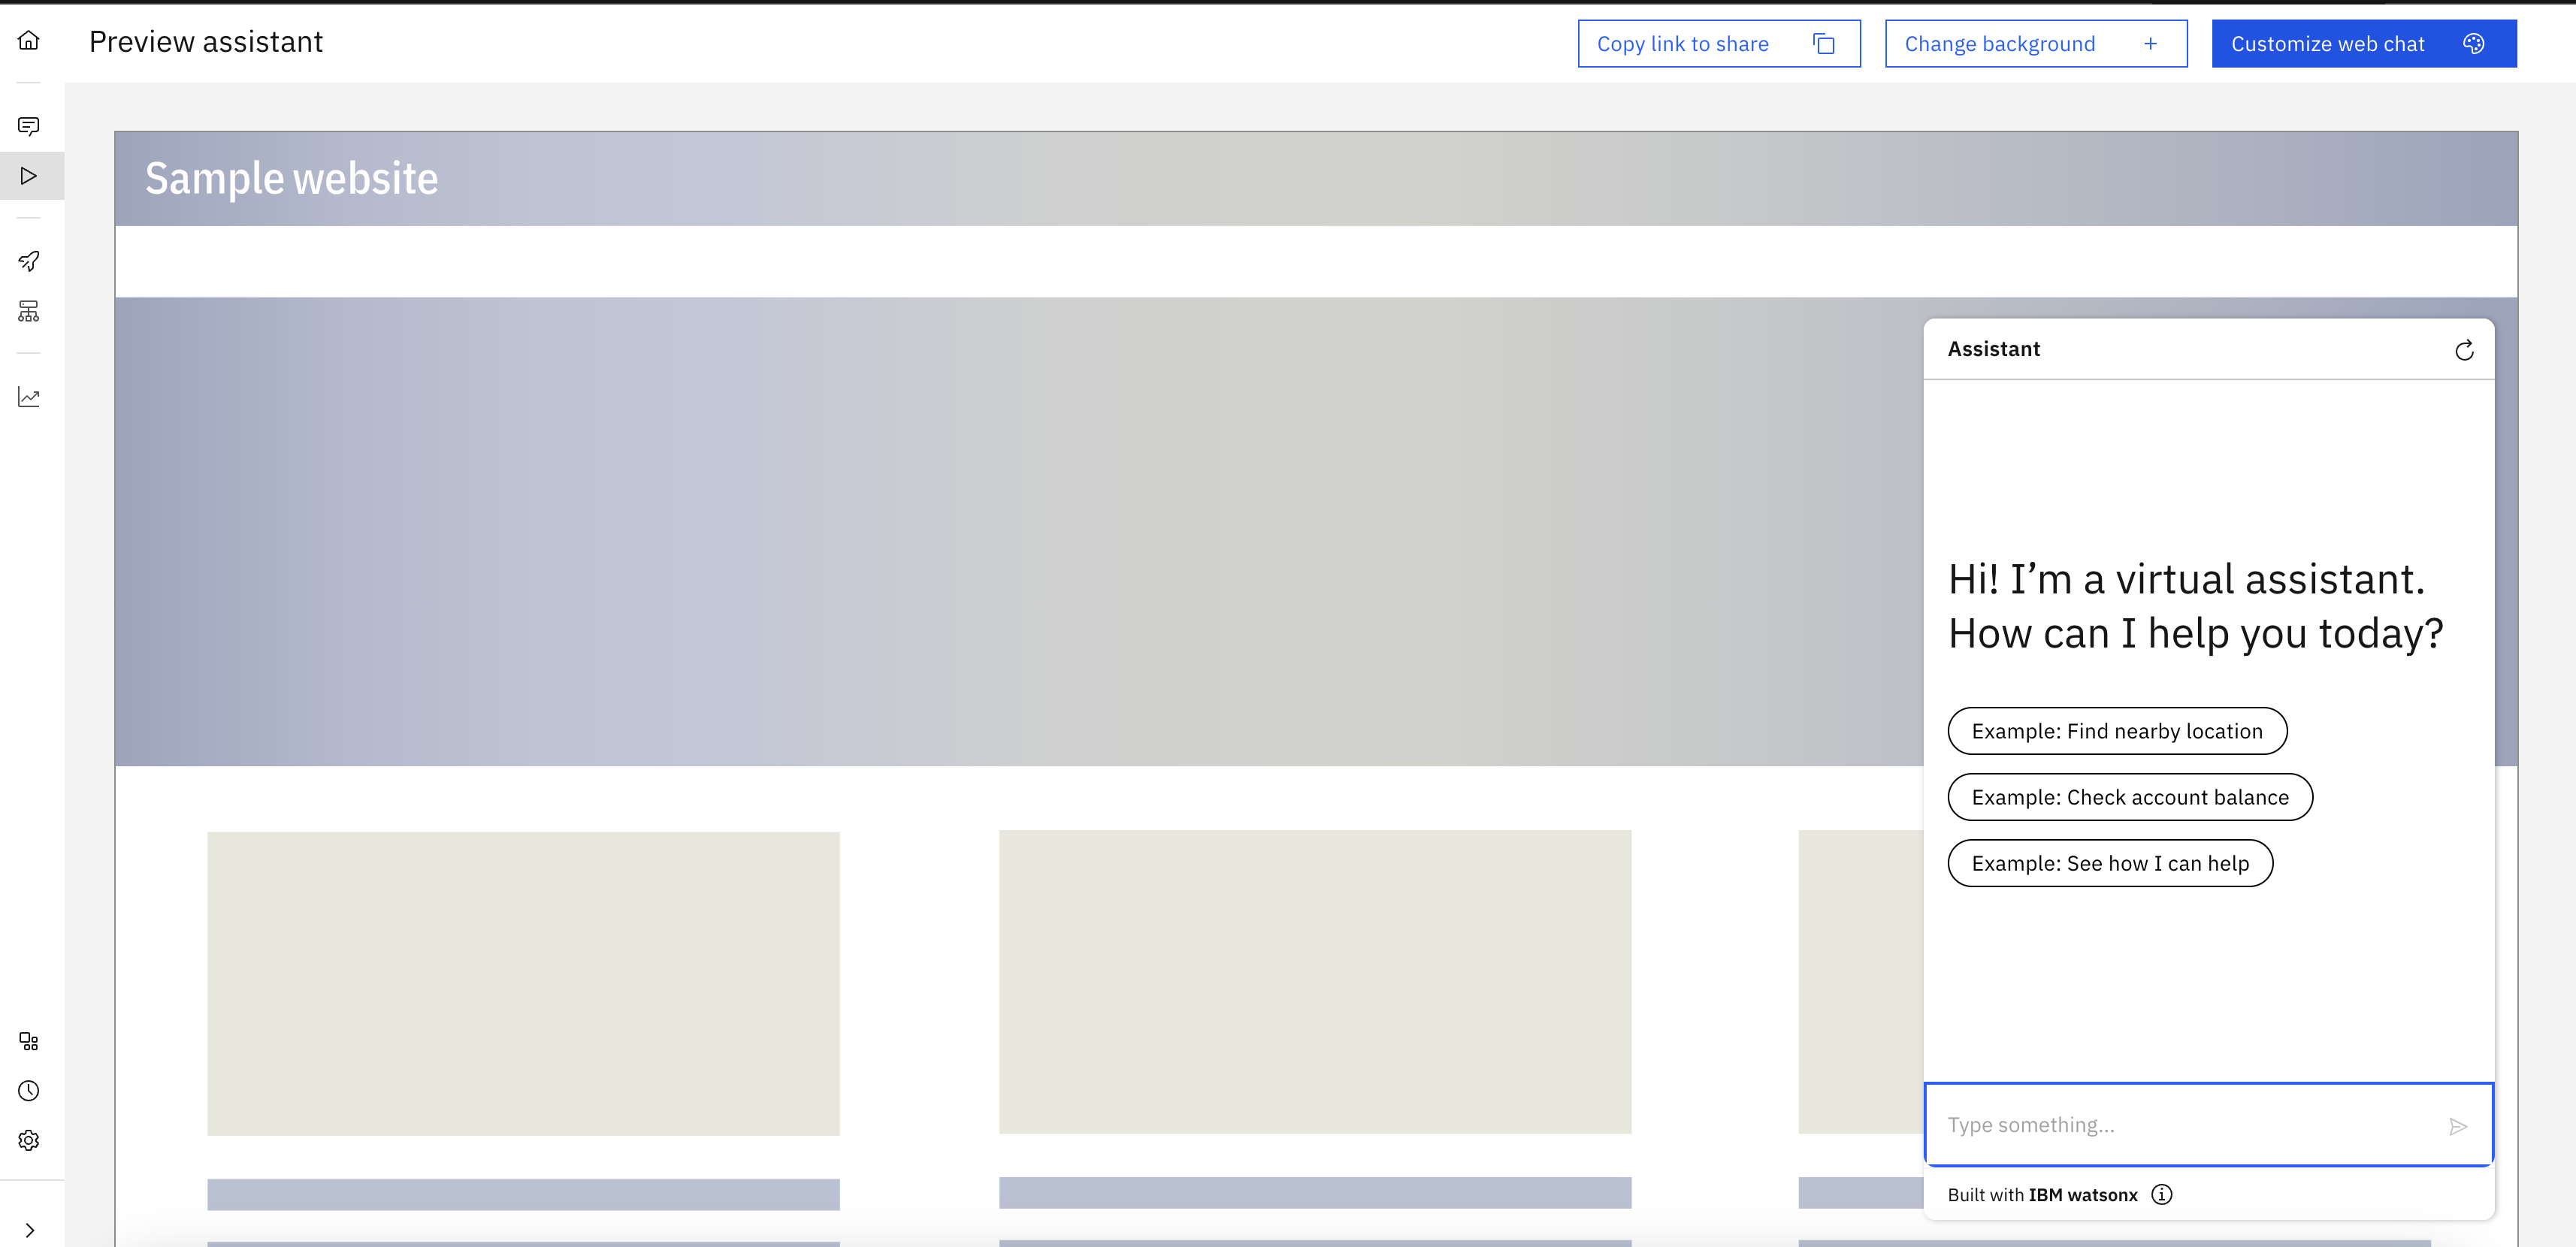
- Navigate to the "Home screen" tab. Modify the Greeting messages and Conversation Starters to match frequently asked questions.
Advanced Watsonx Assistant Configuration
Autocorrection
- To tackle typos, we leveraged watsonx assistant capability of Autocorrection.
- To enable this feature, navitate to Actions -> All items -> Created by you. Click "Global Settings" on the upper right corner.
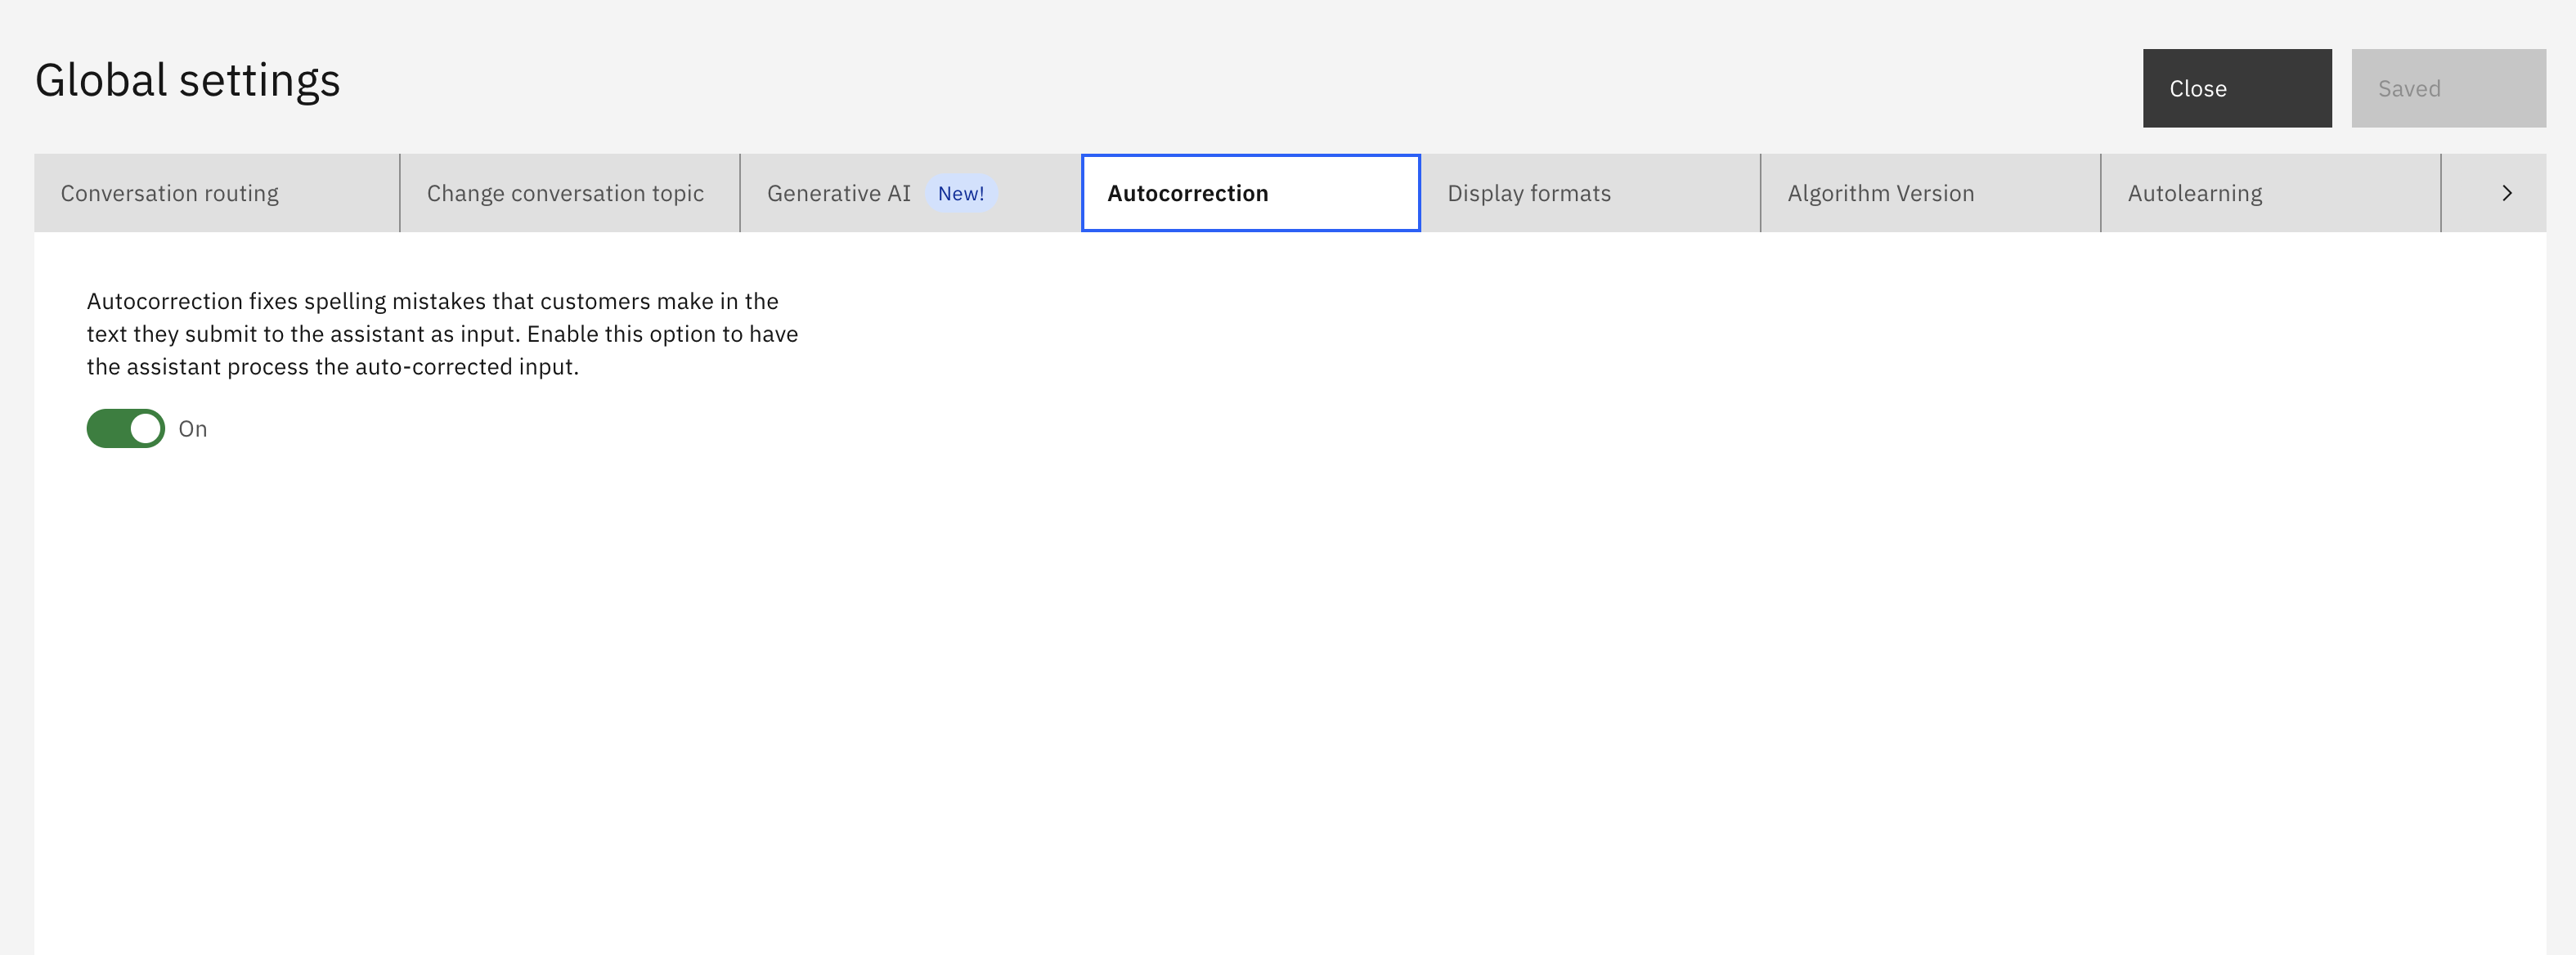
- Navigate to the Autocorrection tab and make sure the toggle is switched to on.
- In NeuralSeek Search action, set query_text to expression
input.text. This will allow the autocorrected input to be passed to NeuralSeek extension. Originally, query_text was set to expressioninput.original_text, if users entered typos, the typoed text would be passed to NeuralSeek.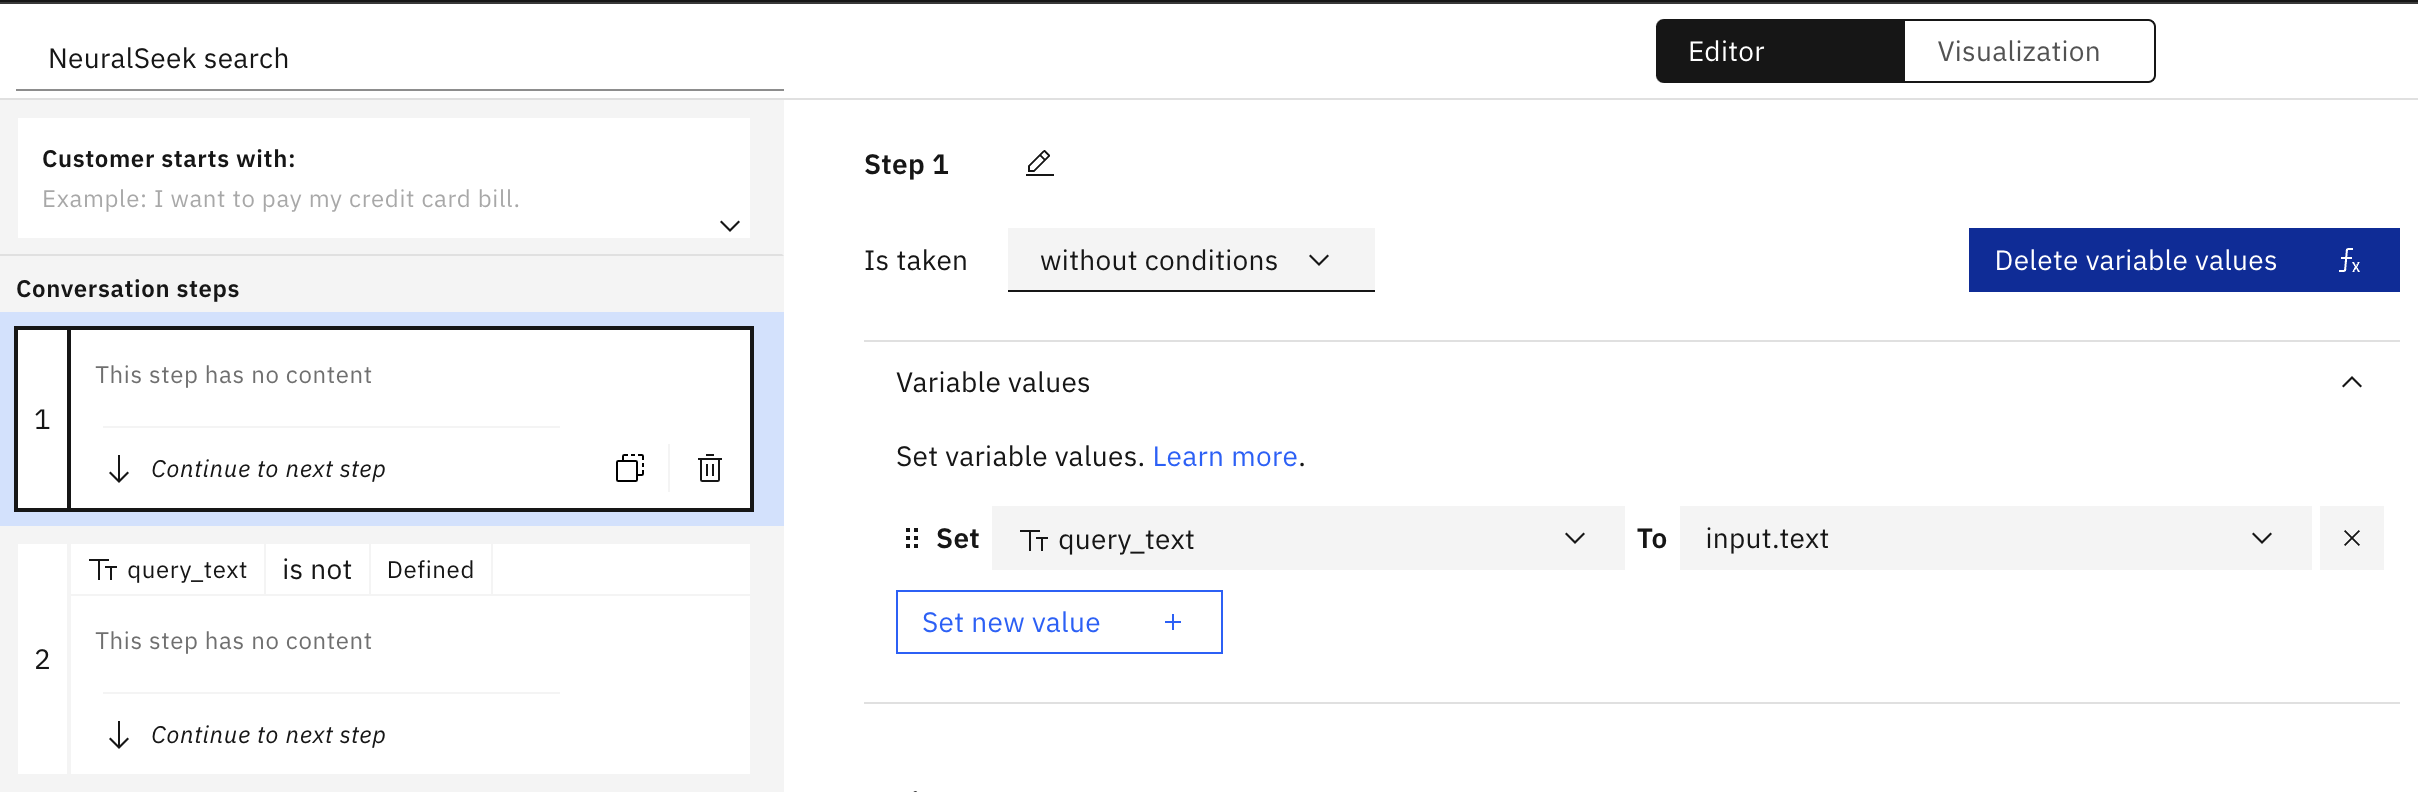
- Reference: Correcting user input