NeuralSeek
Set Up
- Once you've opened NeuralSeek, you'll land on the "Configure" tab.
- Enter the name of the company or organization that NeuralSeek will be generating answers for. Click "Next"
KnowledgeBase Connection
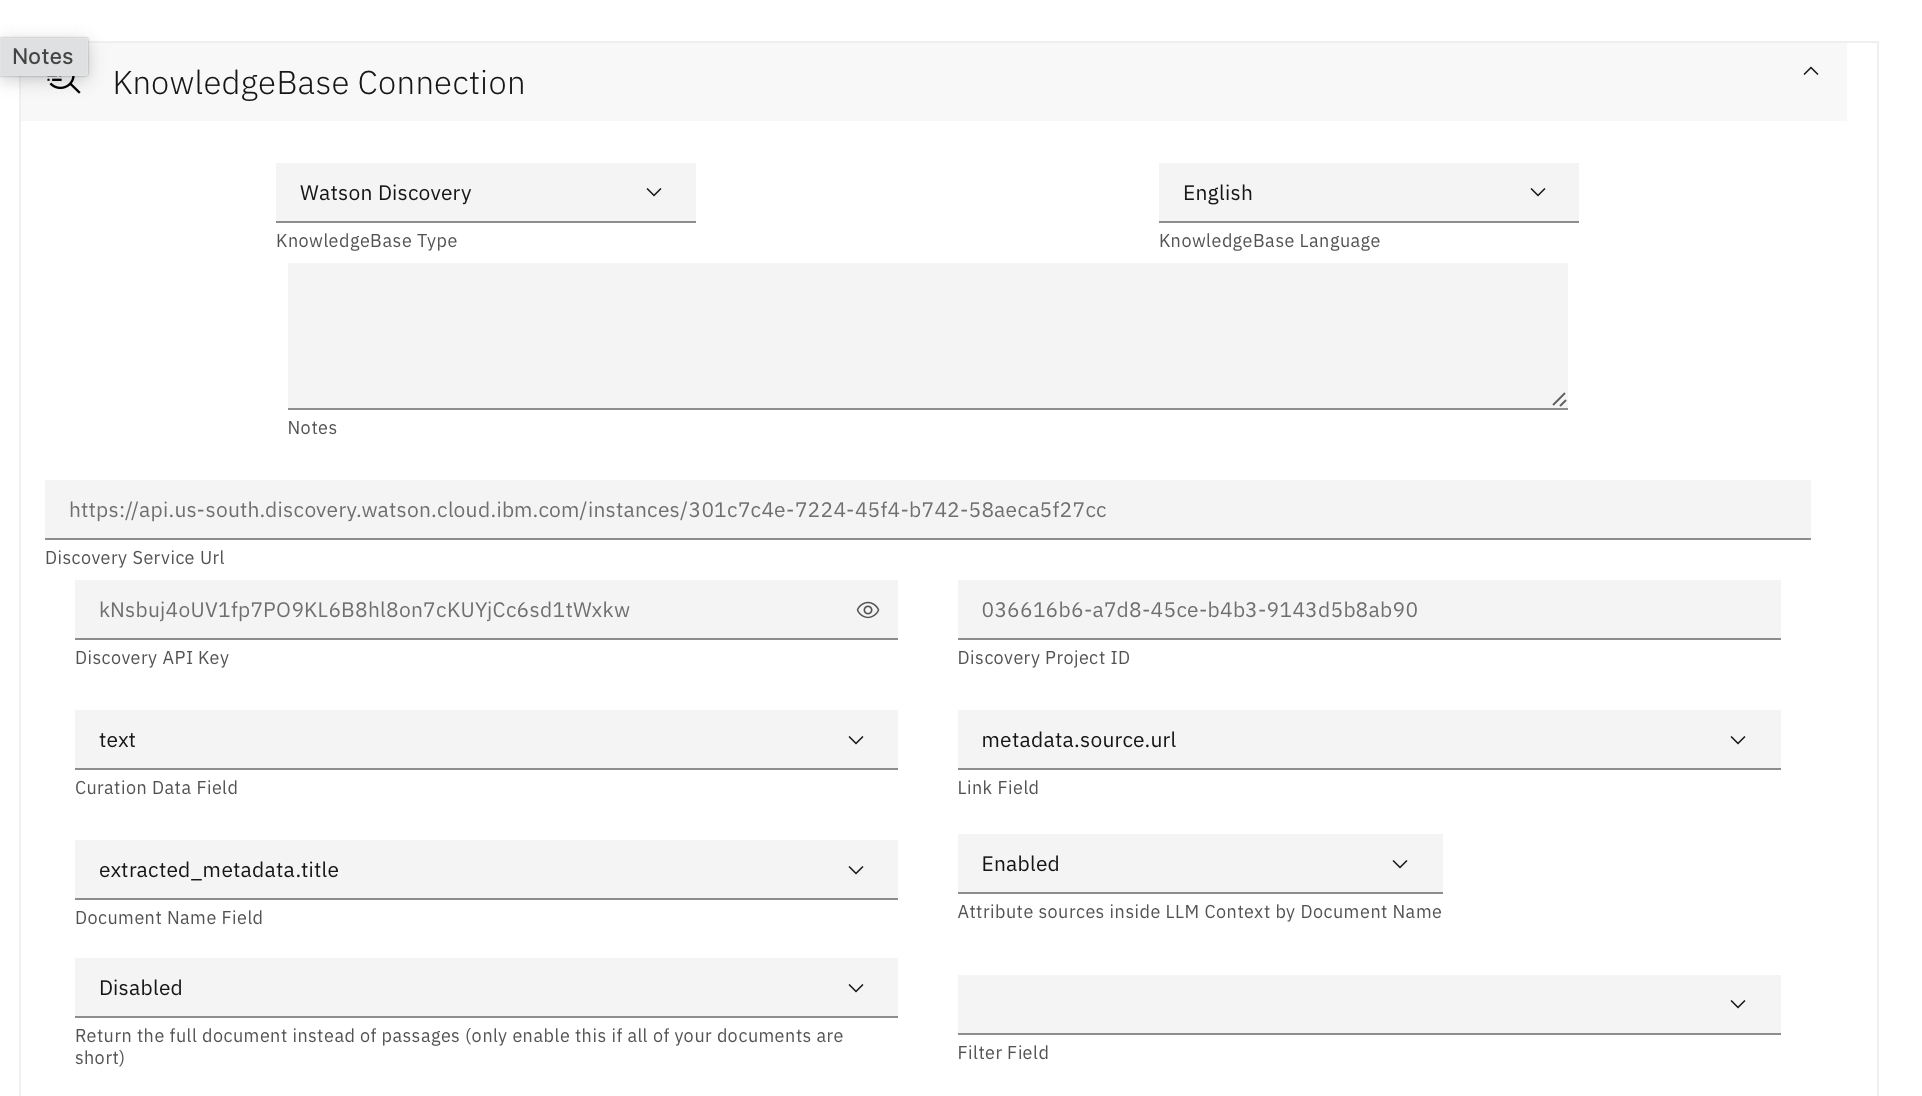
- Input Watson Discovery KnowledgeBase details. Discovery API Key and Discovery Service URL can be found on the Watson Discovery service instance page. Once you have created a project and a collection in Watson Discovery, the Discovery Project ID can be found on the integration tab under API Information. Once you fill out the KnowledgeBase Connection details, test the connection by clicking "Test". Once tested, click "Next". The button will turn green when it successfully connects to Watson Discovery.
- For Virtual Agent Type, select "Watson Assistant Type". Click "Next". Click "Next".
LLM Details
In the LLM Details, you must add at least one LLM. If you choose to add multiple, NeuralSeek will load-balance across them for the selected functions that have multiple LLM's.
For API key, there are two options: SaaS and CP4D. You only need to fill out one or the other. Ensure your endpoint and project id are accurate.
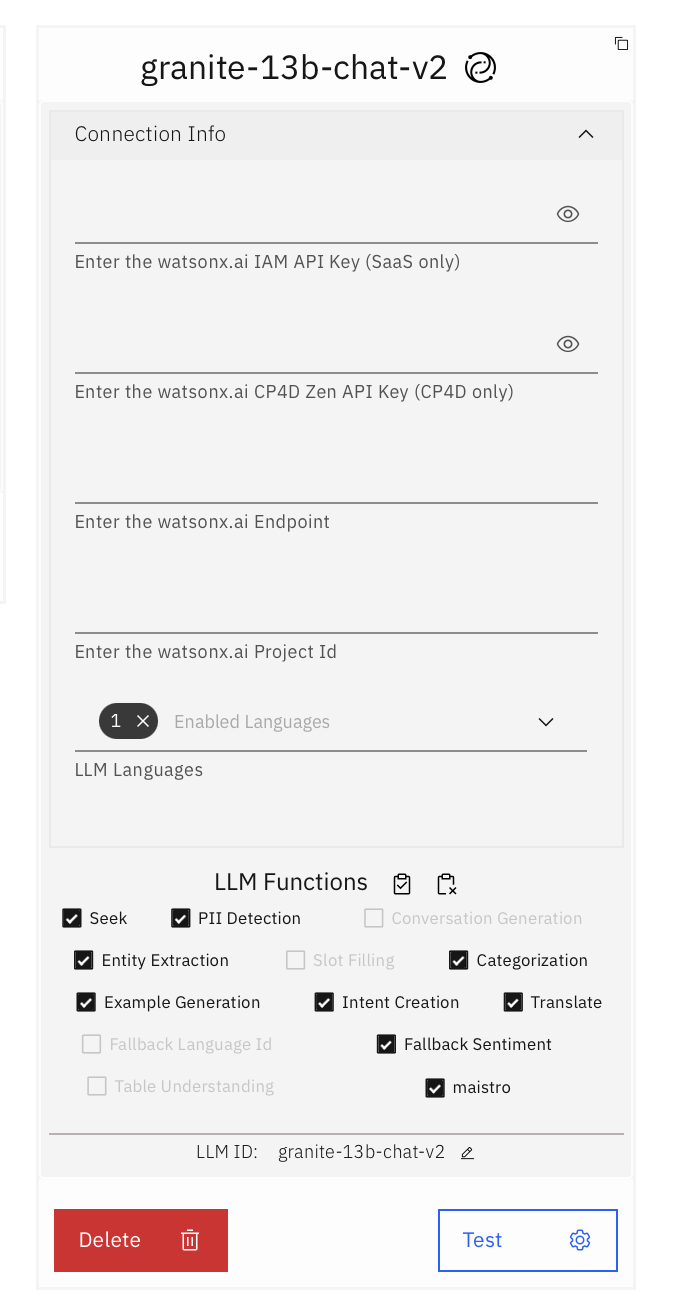
In this case, we are interested in CP4D. The CP4D api key must be a base64 encoded key, and it can be found using the terminal comamnd below. You can generate 'myapikey' by clicking on the profile picture on the top right hand corner and then clicking 'Generate new key'.
printf "myusername:myapikey" | base64
You can confirm if you succeeded in connecting with your zenapikey by using the curl command below:
curl -H "Authorization: ZenApiKey ${TOKEN}" "https://<cpd_instance_route>/<endpoint>"
Credentials from watsonx.ai that you need for LLM details: First make sure you have a project created within watsonx.ai.
- LLM Endpoint
- Go to WatsonX Platform
- Prompt Lab -> View code (Right hand side, to the right of Model) -> Copy the API endpoint after
curl
- LLM Project ID:
- Go to WatsonX Platform
- Projects -> Manage -> General -> Details -> Project ID
Configuration & Tuning
Please see below for recommended settings:
-
Knowledge Base Tuning:
- Set score range to 100%
- Set max documents per seek to 5
- Set snippet size to 650

-
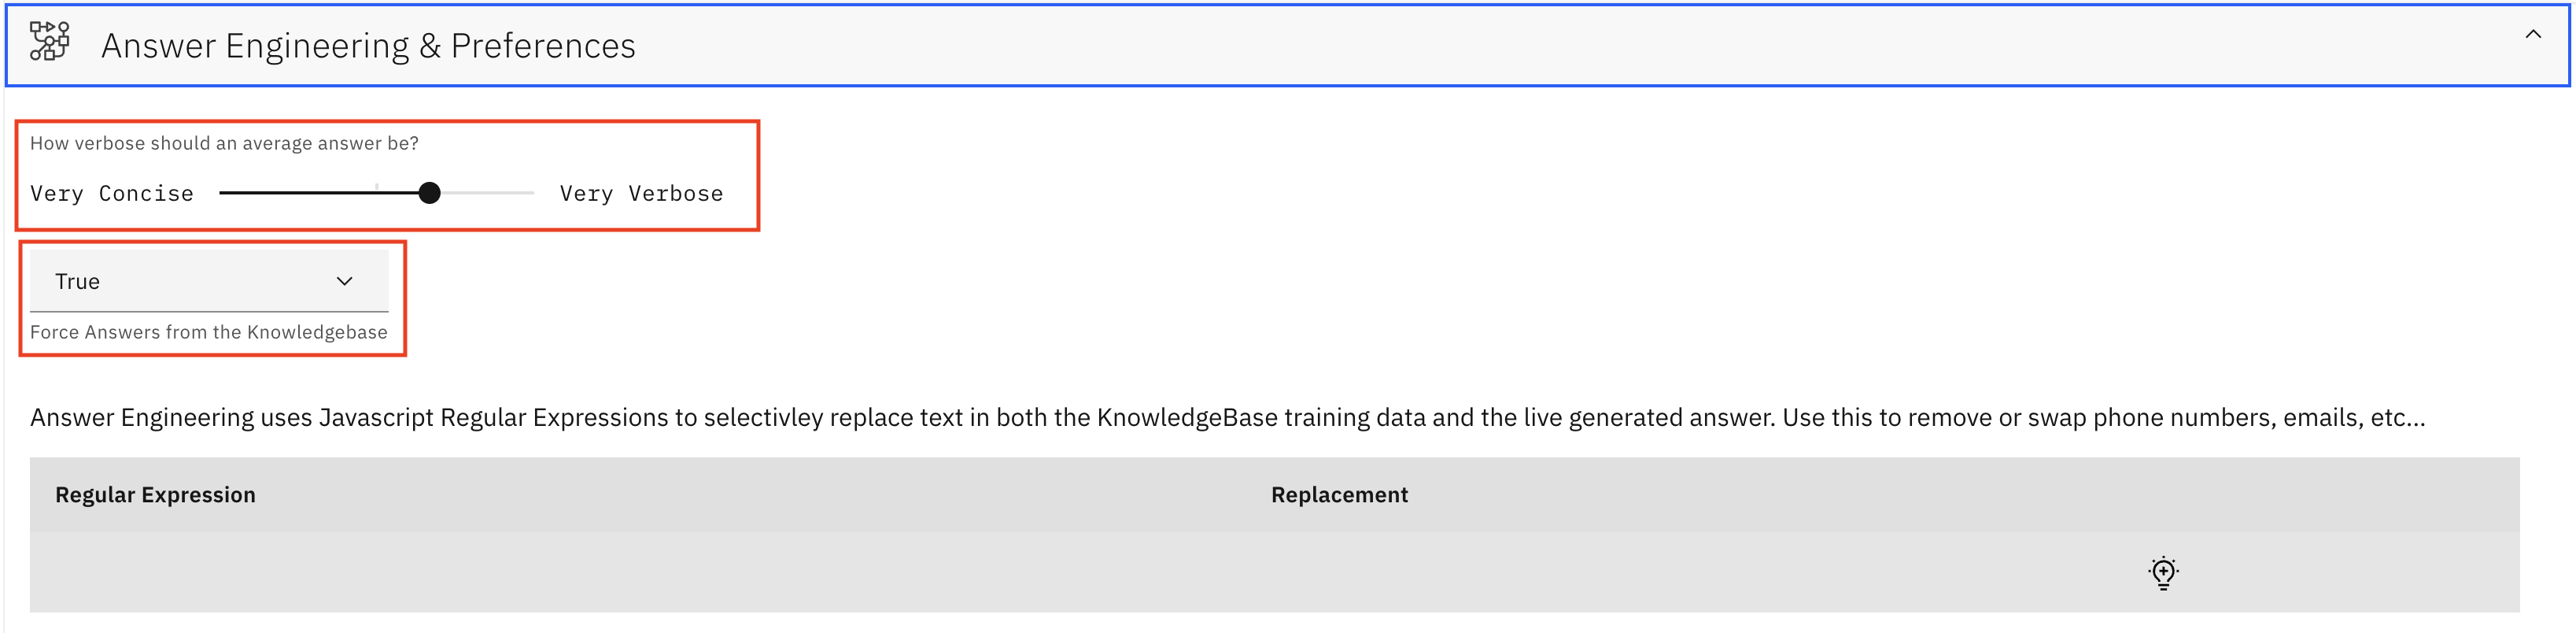
Answer Engineering & Preferences
- Change conciseness from tier 2 on the bar to tier 3
- Set force answers from the knowledgebase to True
-
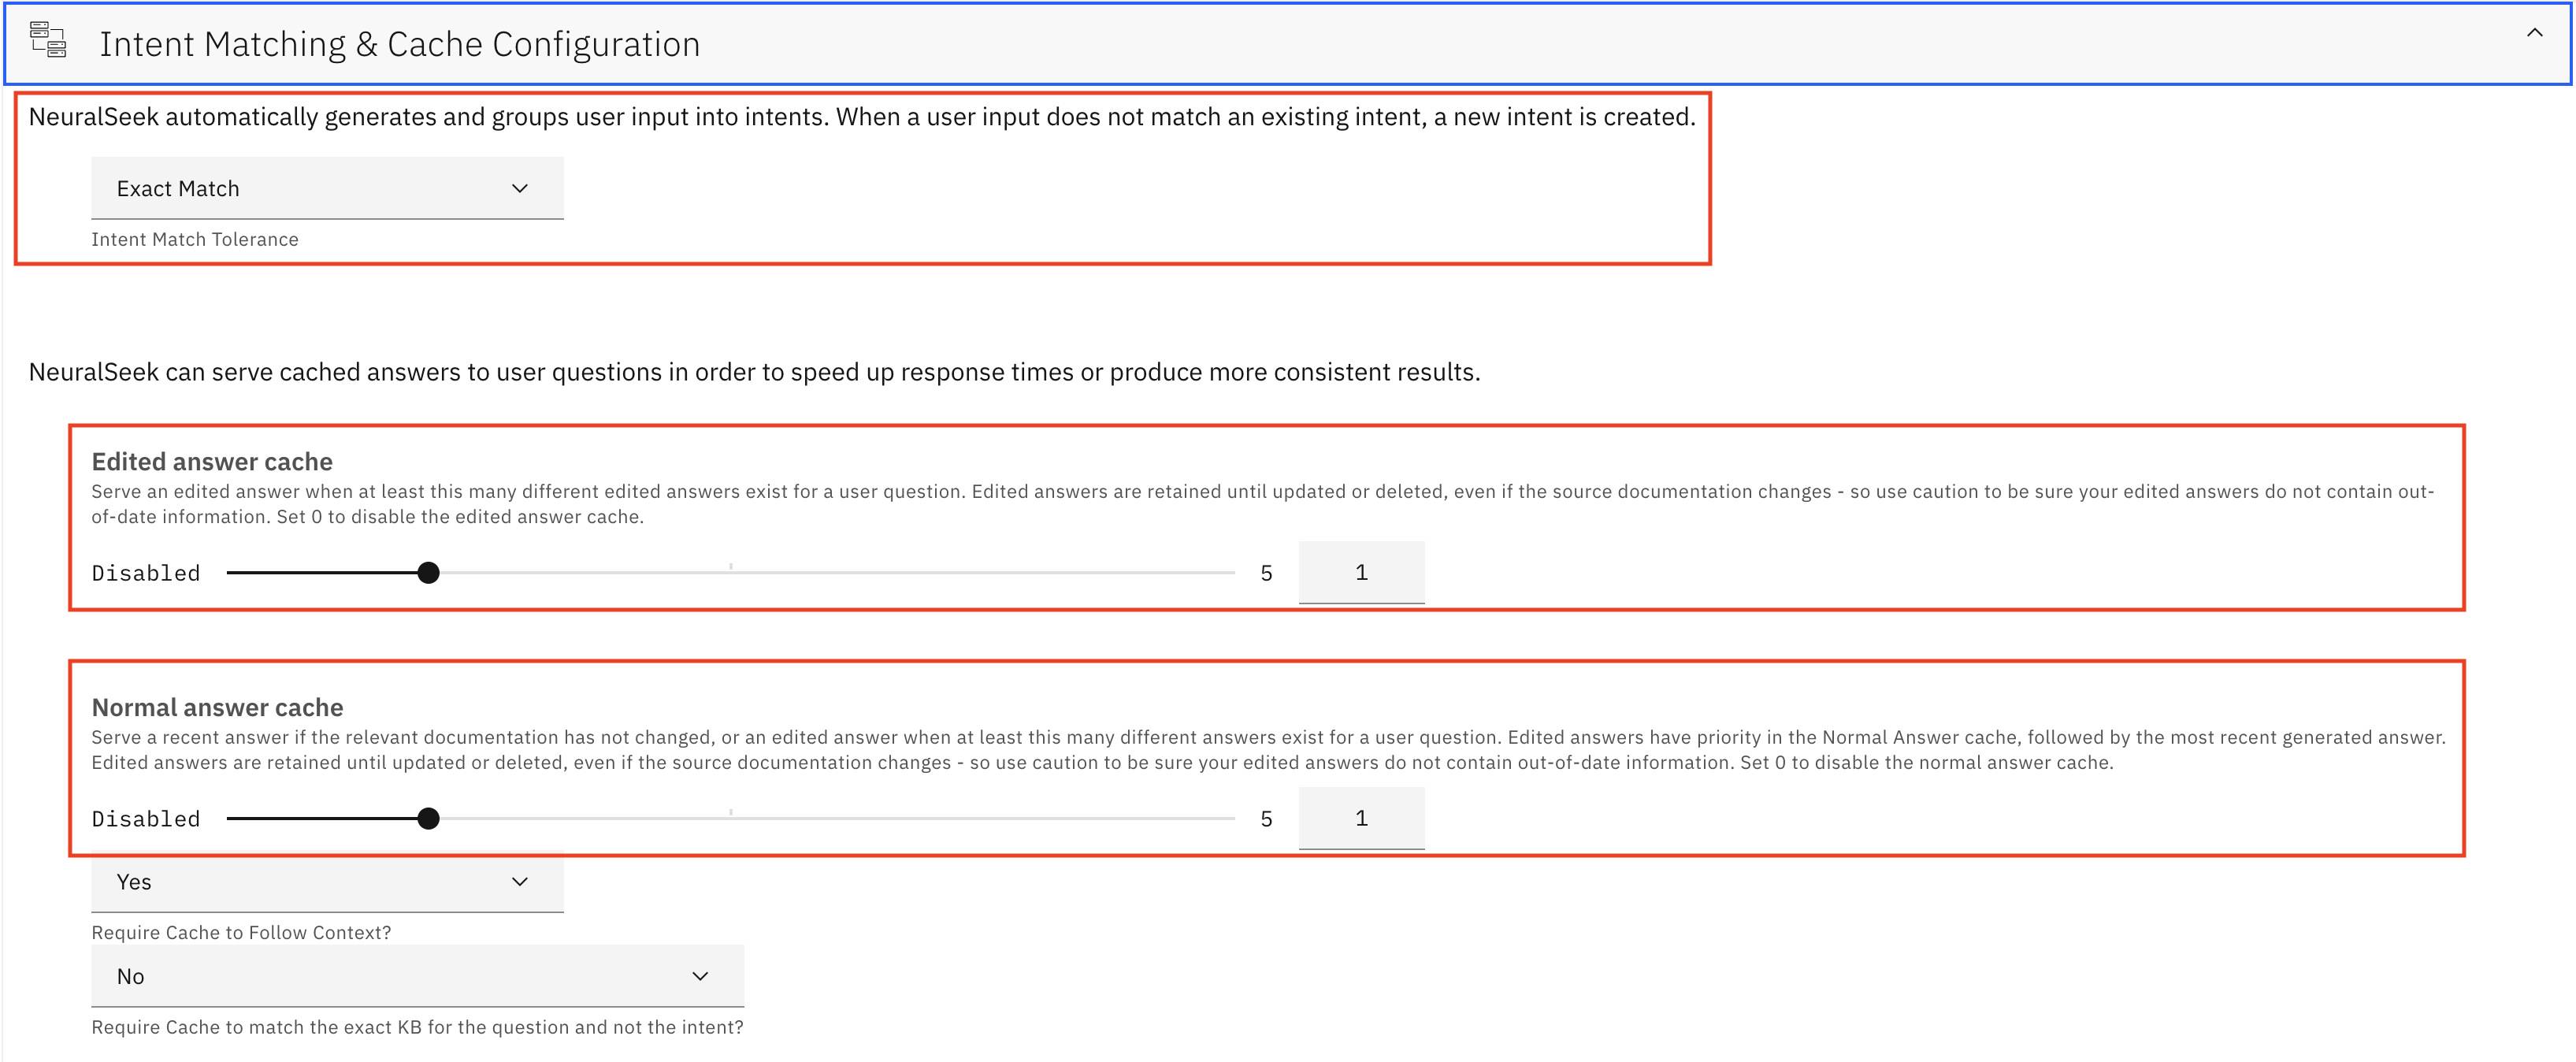
Intent Matching & Cache Configuration
- Select Exact Match for Intent Match Tolerance
- Edited Answer Cache set to 1
- Normal Answer Cache set to 1
- Require Cache to Follow Context? set to Yes
- Require Cache to match the exact KB for the question and not the intent? set to No
-
Governance & Guardrails
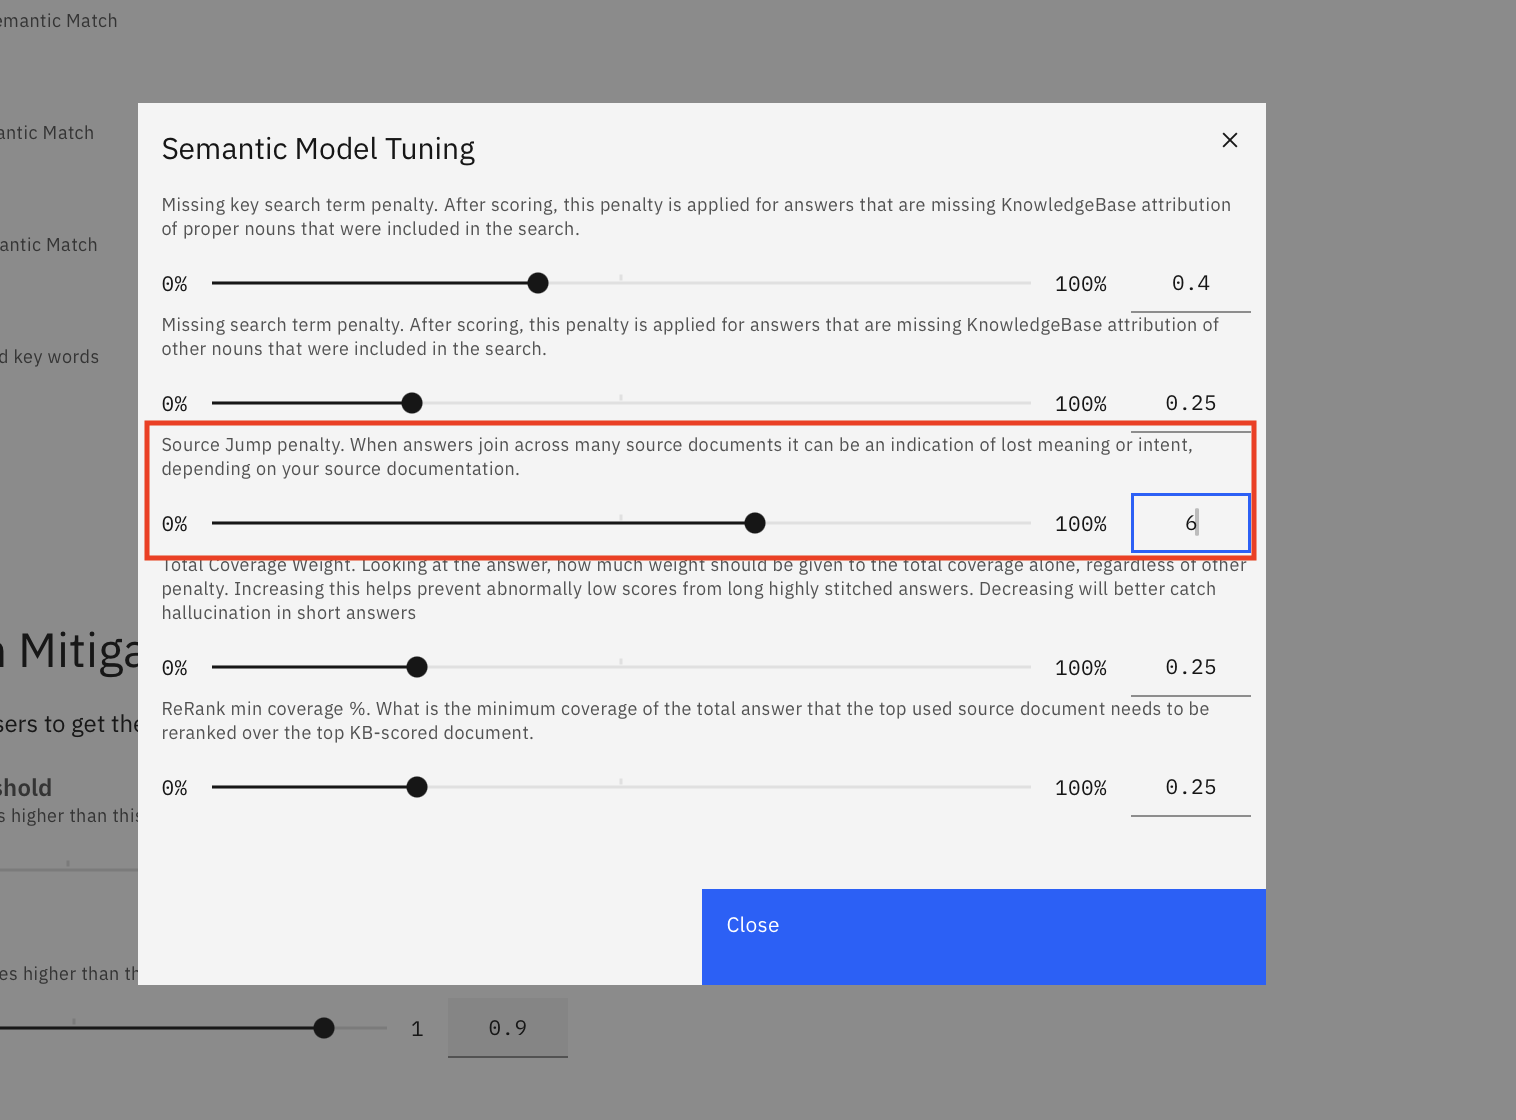
- Click "Semantic Model Tuning" and change Source Jump Penalty from 3 to 6. Source Jump penalty: When answers join across many source documents it can be an indication of lost meaning or intent, depending on your source documentation.
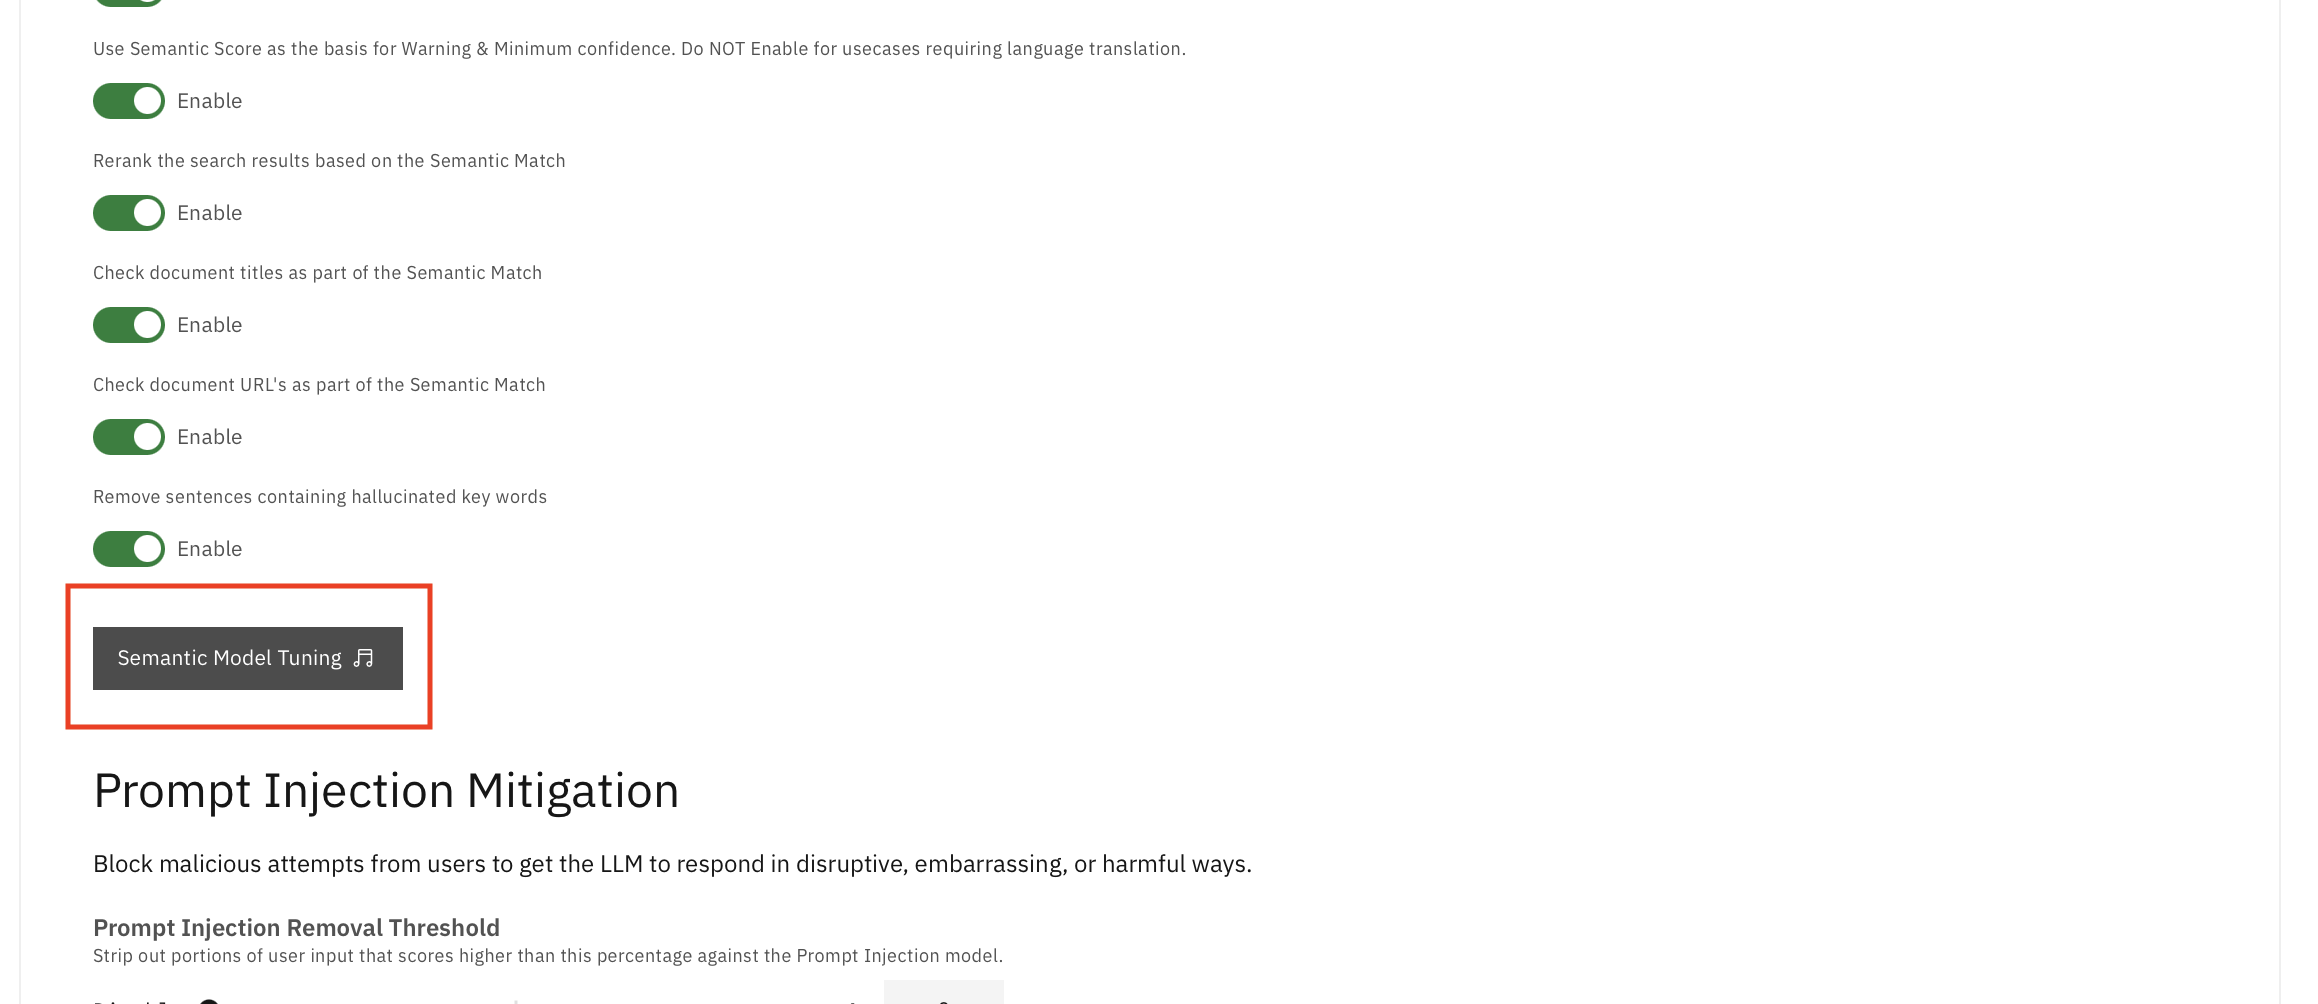
- Turn on "Check document titles as part of the Semantic Match"
- Turn on "Check document URL's as part of the Semantic Match"
- Turn on "Remove sentences containing hallucinated key words"

- Change minimum confidence to 5% and include a message to decrease risk of hallucinations
- Update the text to reply with questions not meeting the minimum confidence to something natural as shown in the image below
- Set the minimum confidence % to display a URL to 10

- Click "Semantic Model Tuning" and change Source Jump Penalty from 3 to 6. Source Jump penalty: When answers join across many source documents it can be an indication of lost meaning or intent, depending on your source documentation.
Leverage good responses through updating "Curate" tab
- In NeuralSeek, navigate to the "Curate" tab and you could see intents and answers.
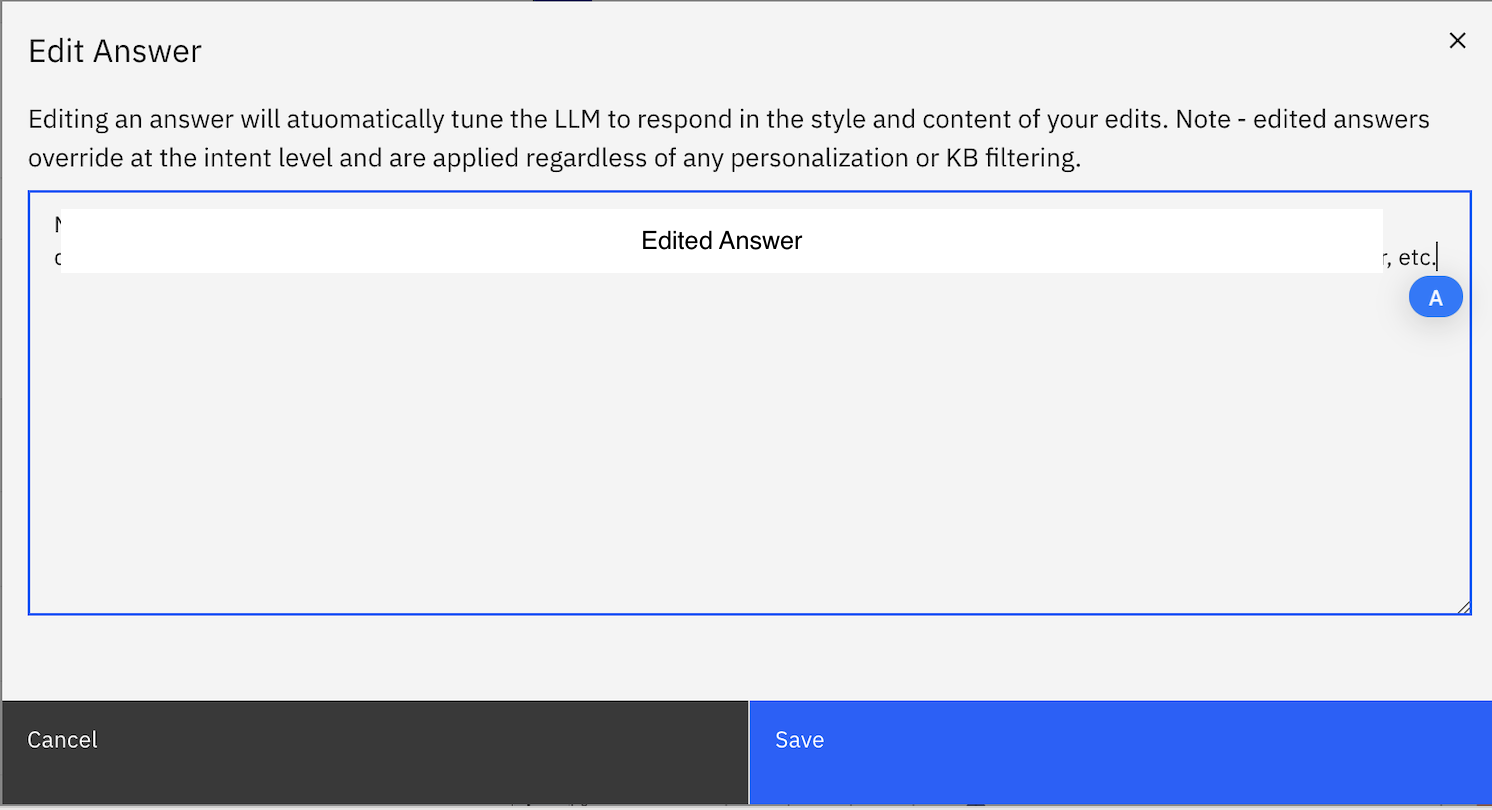
- If there are specific answers that you'd like to modify, click on that row and you will see the row expands. Example screenshot as below.

- Click on the answer text and you could edit answer to better match business requirements. Once done editing, click "Save".
- To export edited answers, click on the checkboxes of the rows you'd like to export, and click "download to CSV" button to download a csv file.

- To upload edited answers to Neuralseek, unselect all and click "Load Q&A" button and follow the steps to uplaod file.

- After uploading Q&A, you will see new rows appear in the Curate tab.
Testing
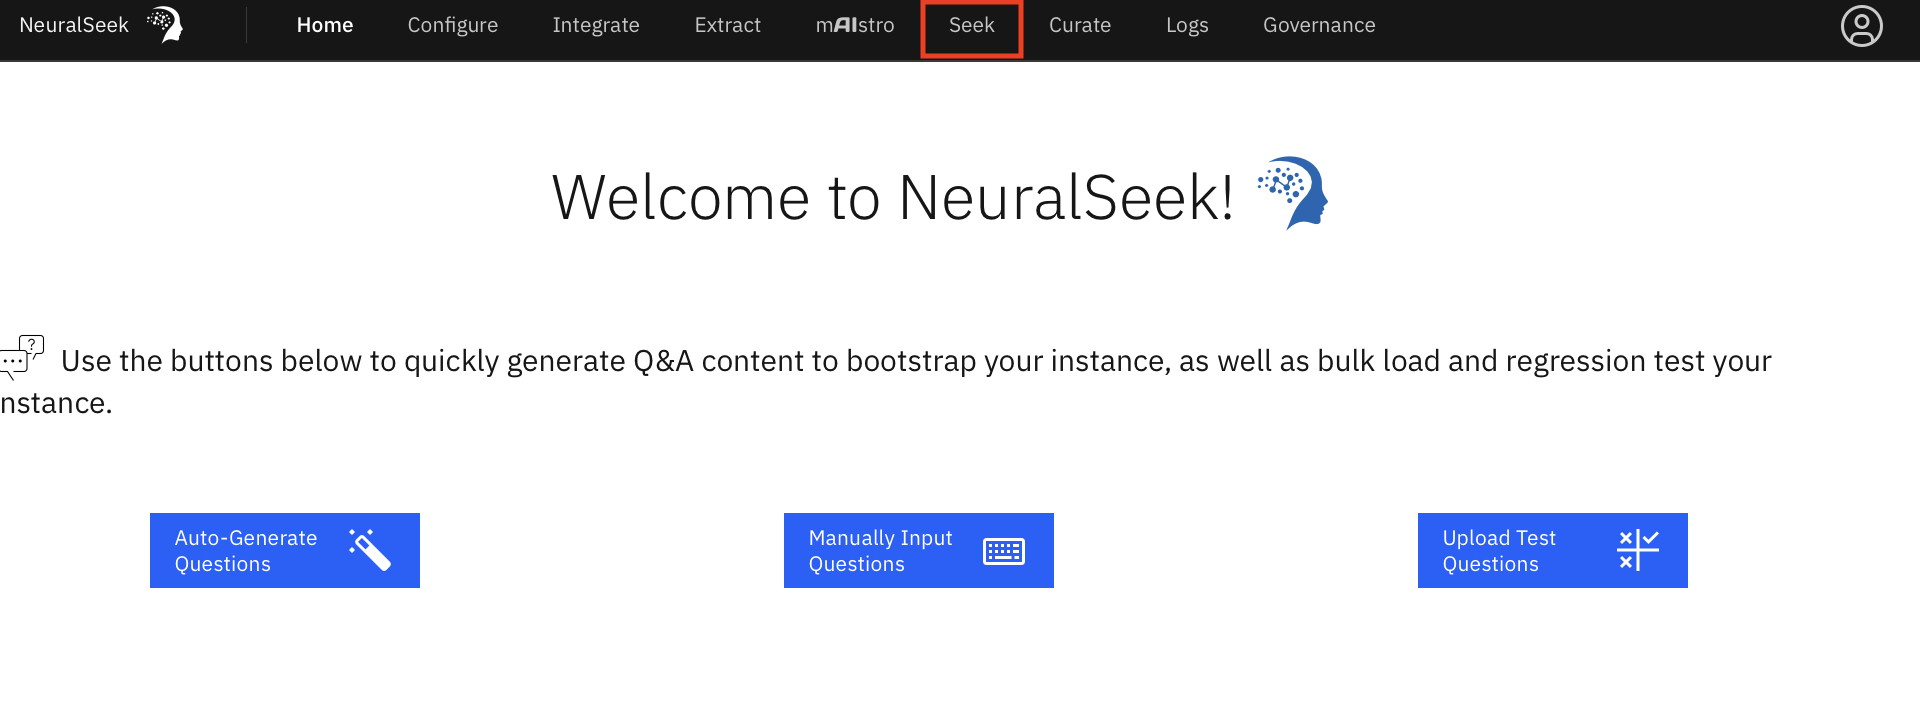
- Navigate to "Seek" tab. Test NeuralSeek with questions that are relevant to your documents, e.g. "What products or services do you offer?" You will be able to see the NeuralSeek answer with response details, metrics, and source.
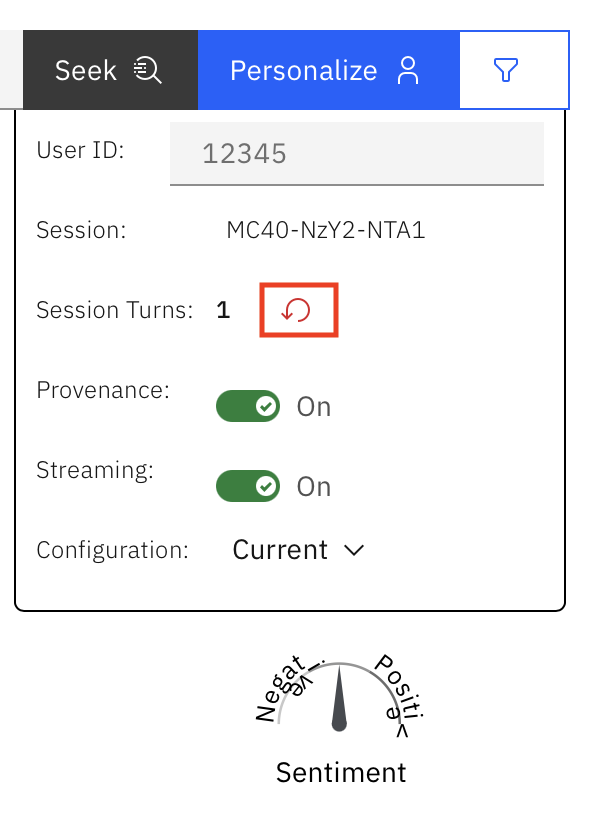
 Ensure to clear session turn if starting a new session by clicking on the red reset icon:
In addition to testing on NeuralSeek, we have written a script to allow testing through API for more flexibility. We performed Pre-Processing and No OCR, No Pre-Processing and No OCR, and OCR experiments using the testing notebook. You can and run the different experiments just by changing the Discovery collection ID and providing with the questions and expected responses as string arrays. It uses the NeuralSeek API. Please refer to Testing Notebook for detailed steps.
UI Testing
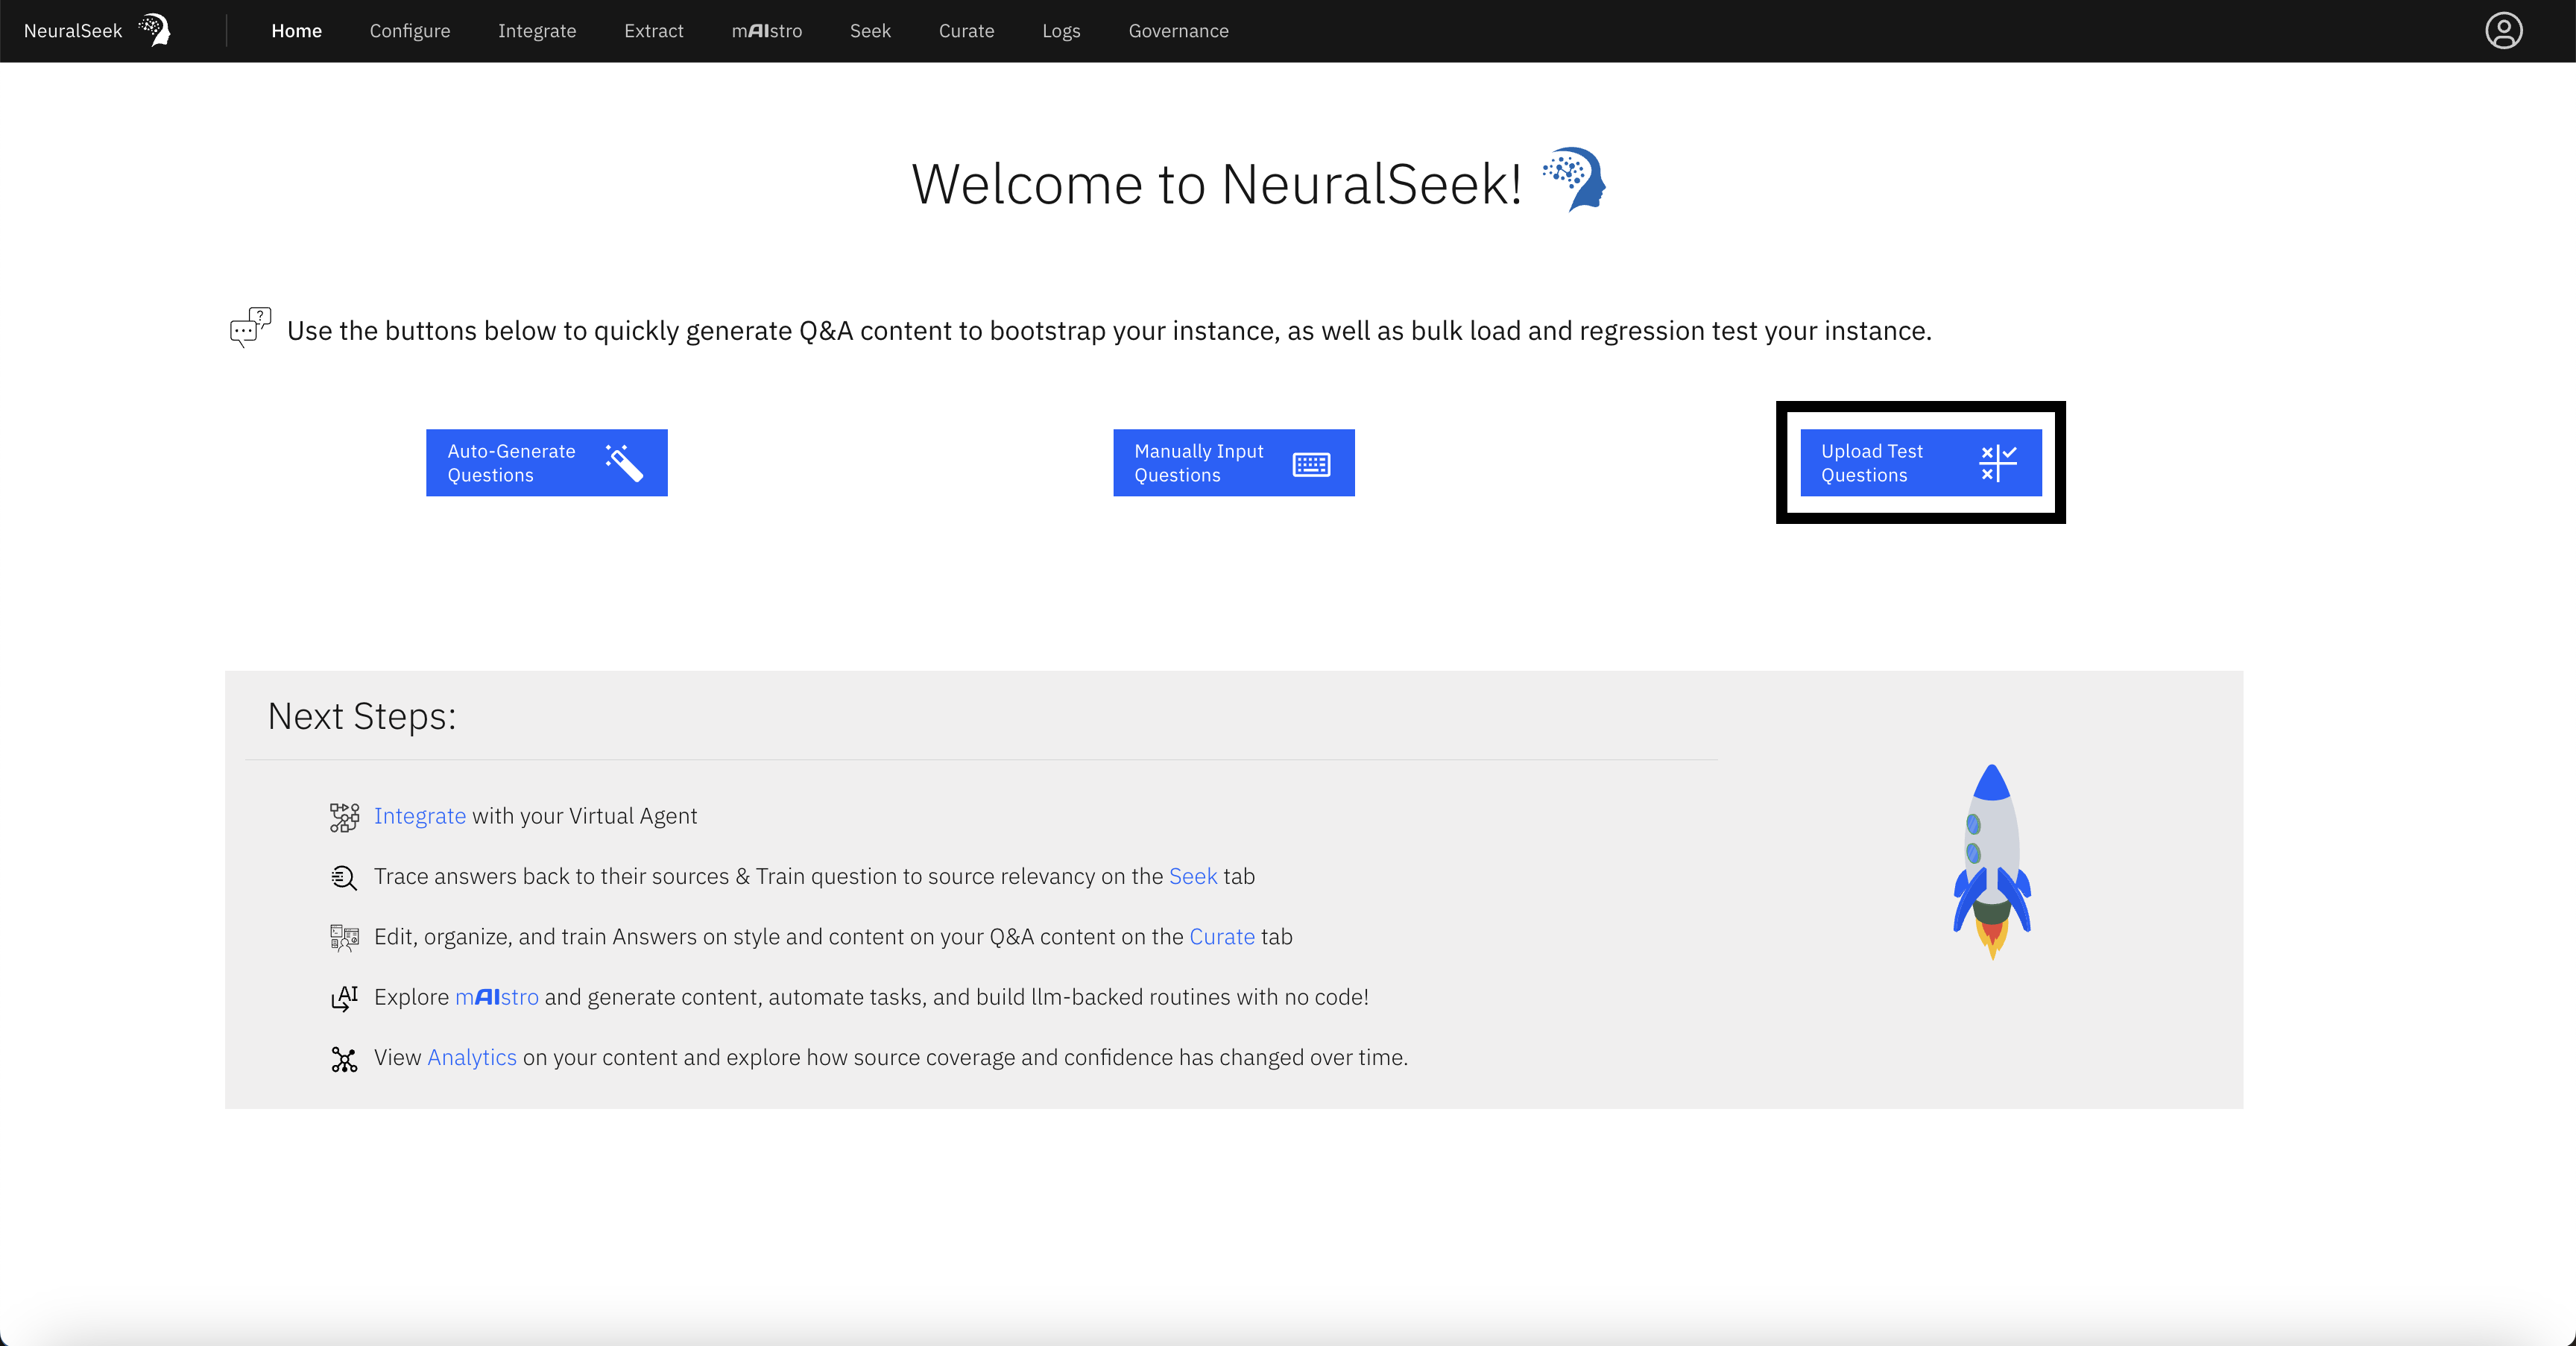
Within the NeuralSeek UI, there is also a feature to send a batch of questions to test at once. This can be helpful for users who prefer UI tools, and returns answers in a spreadhseet format. To use this feature, navigate to the "upload test questions" section on the home page:
When submitting your batch of questions, format them using the template provided before uploading them.
Download Logs
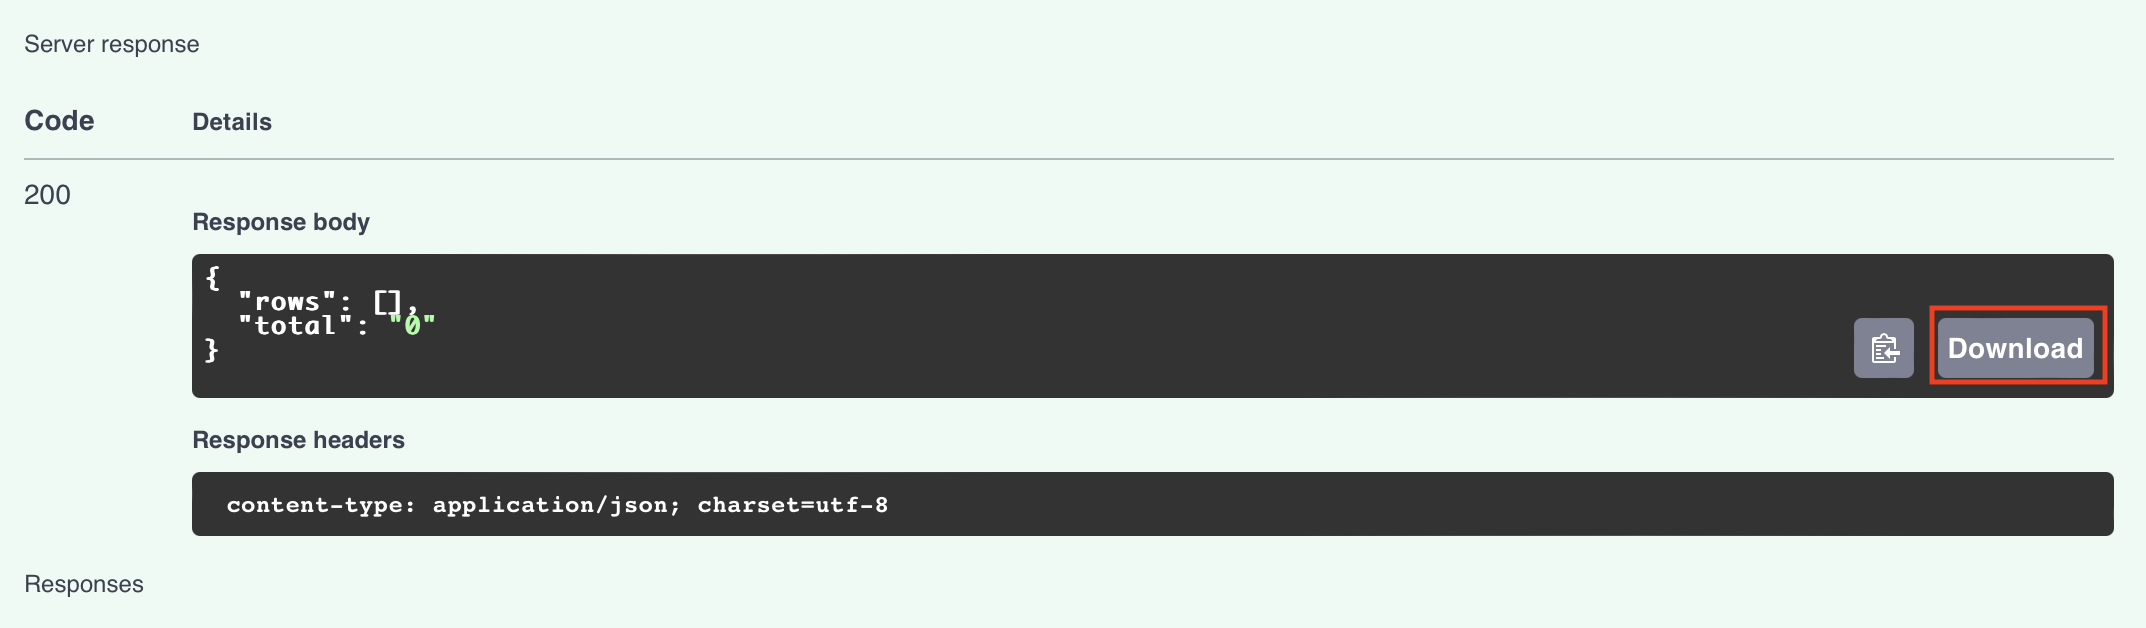
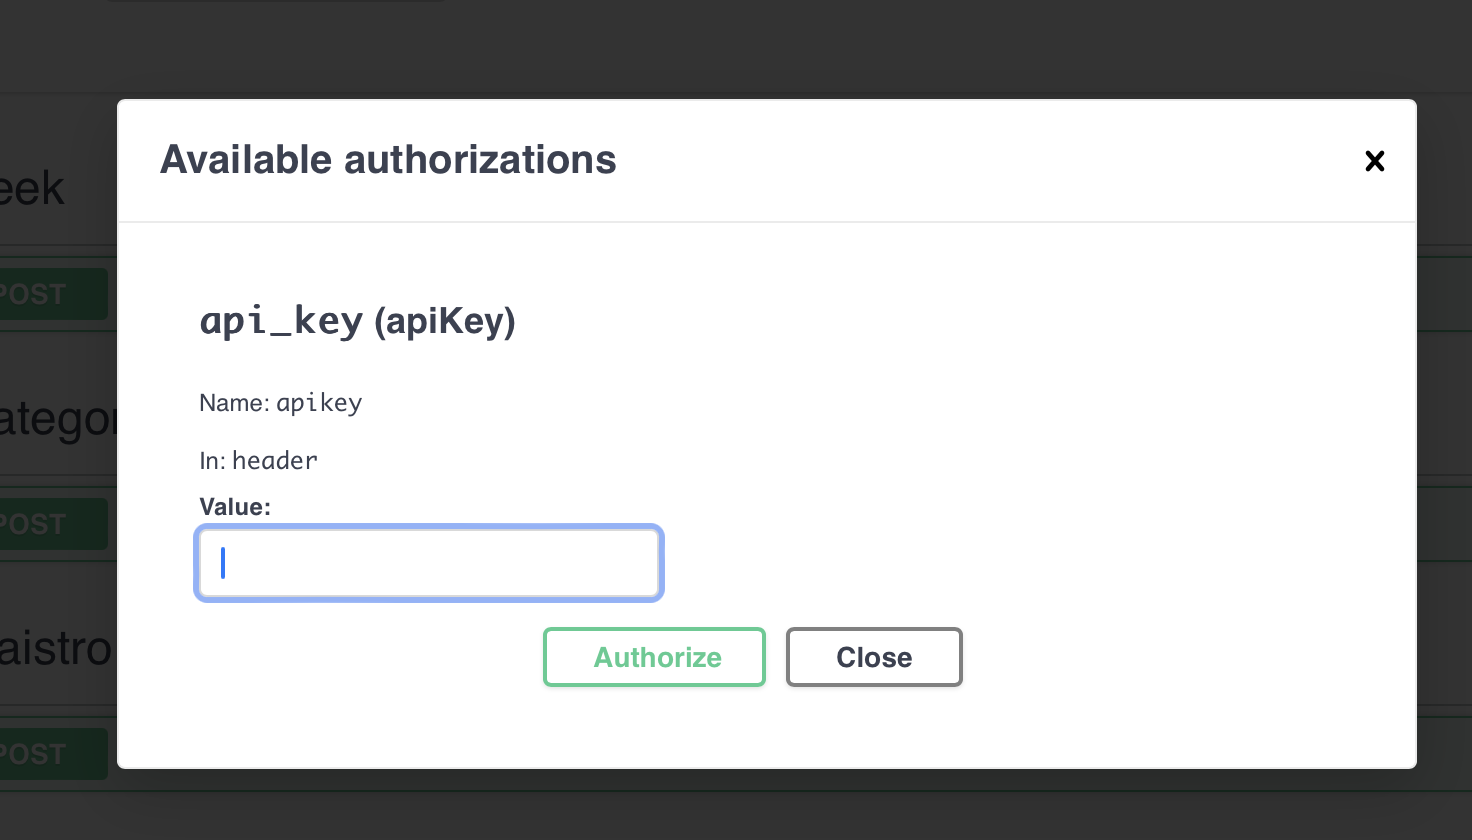
- Proceed to API on Integrate tab
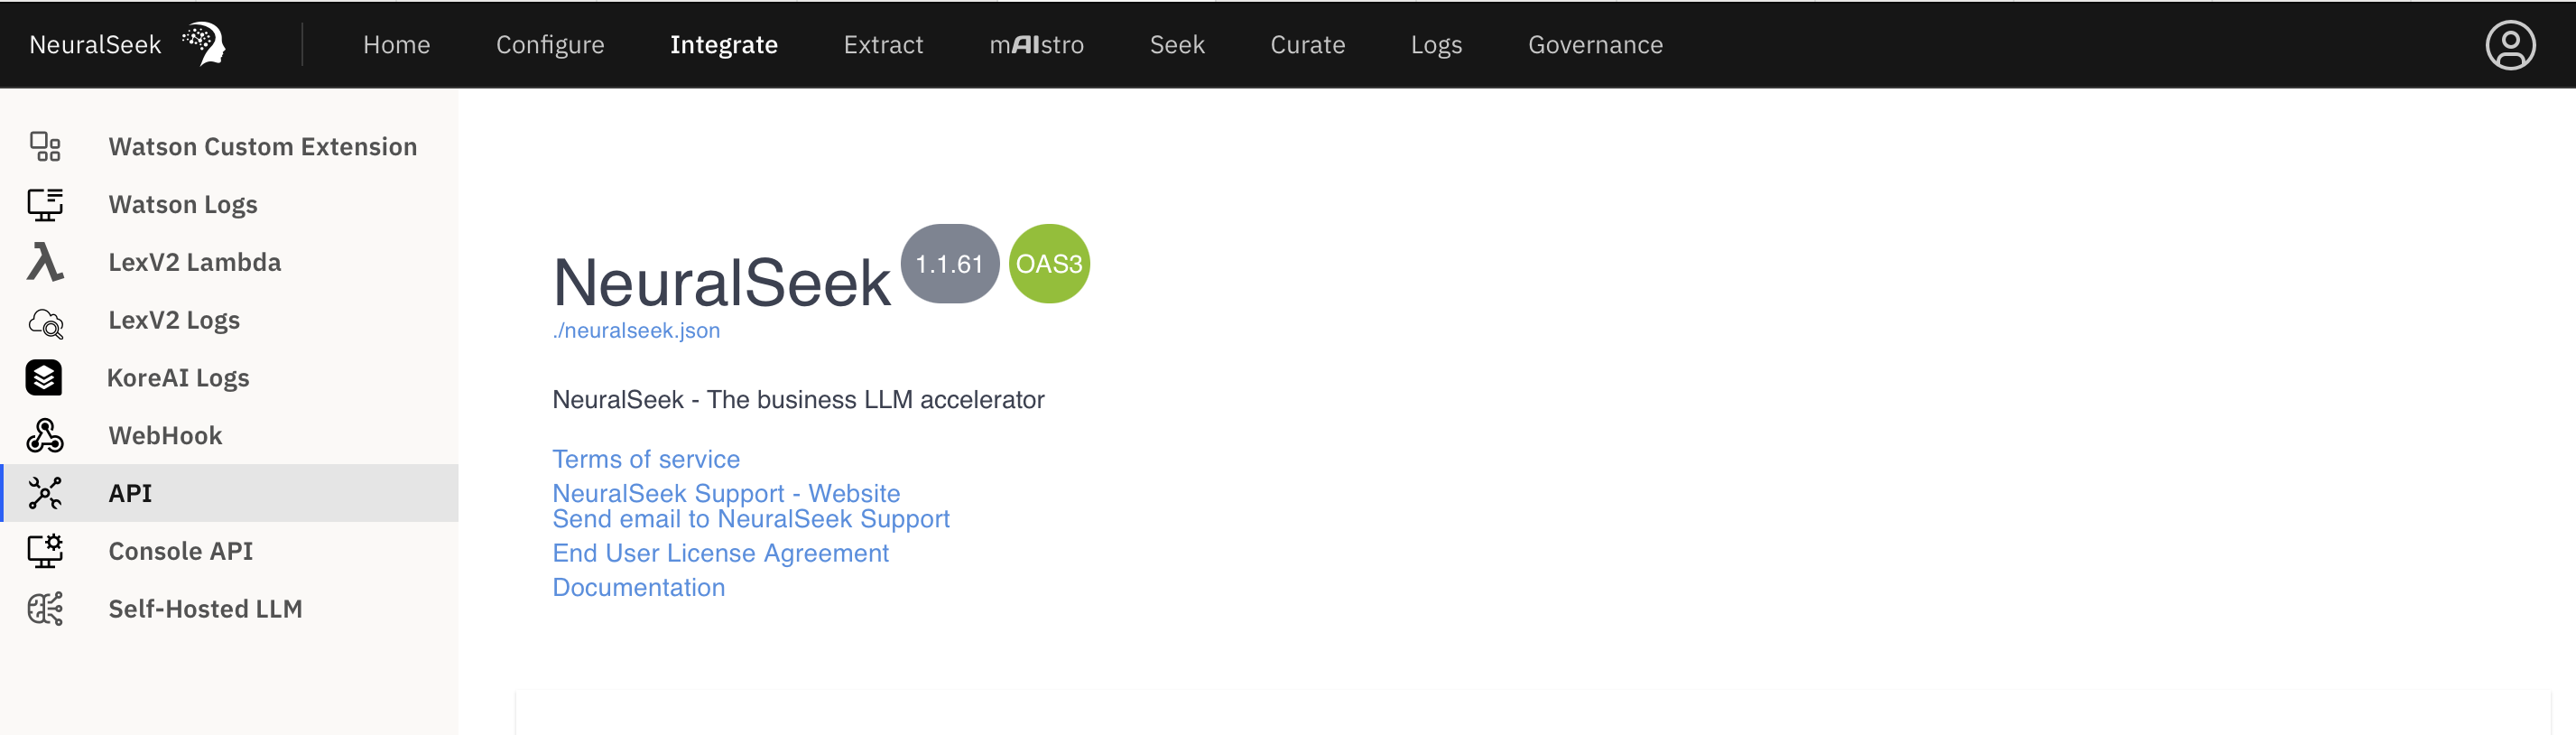
- Click Authorize, then paste in API key and then click authorize.

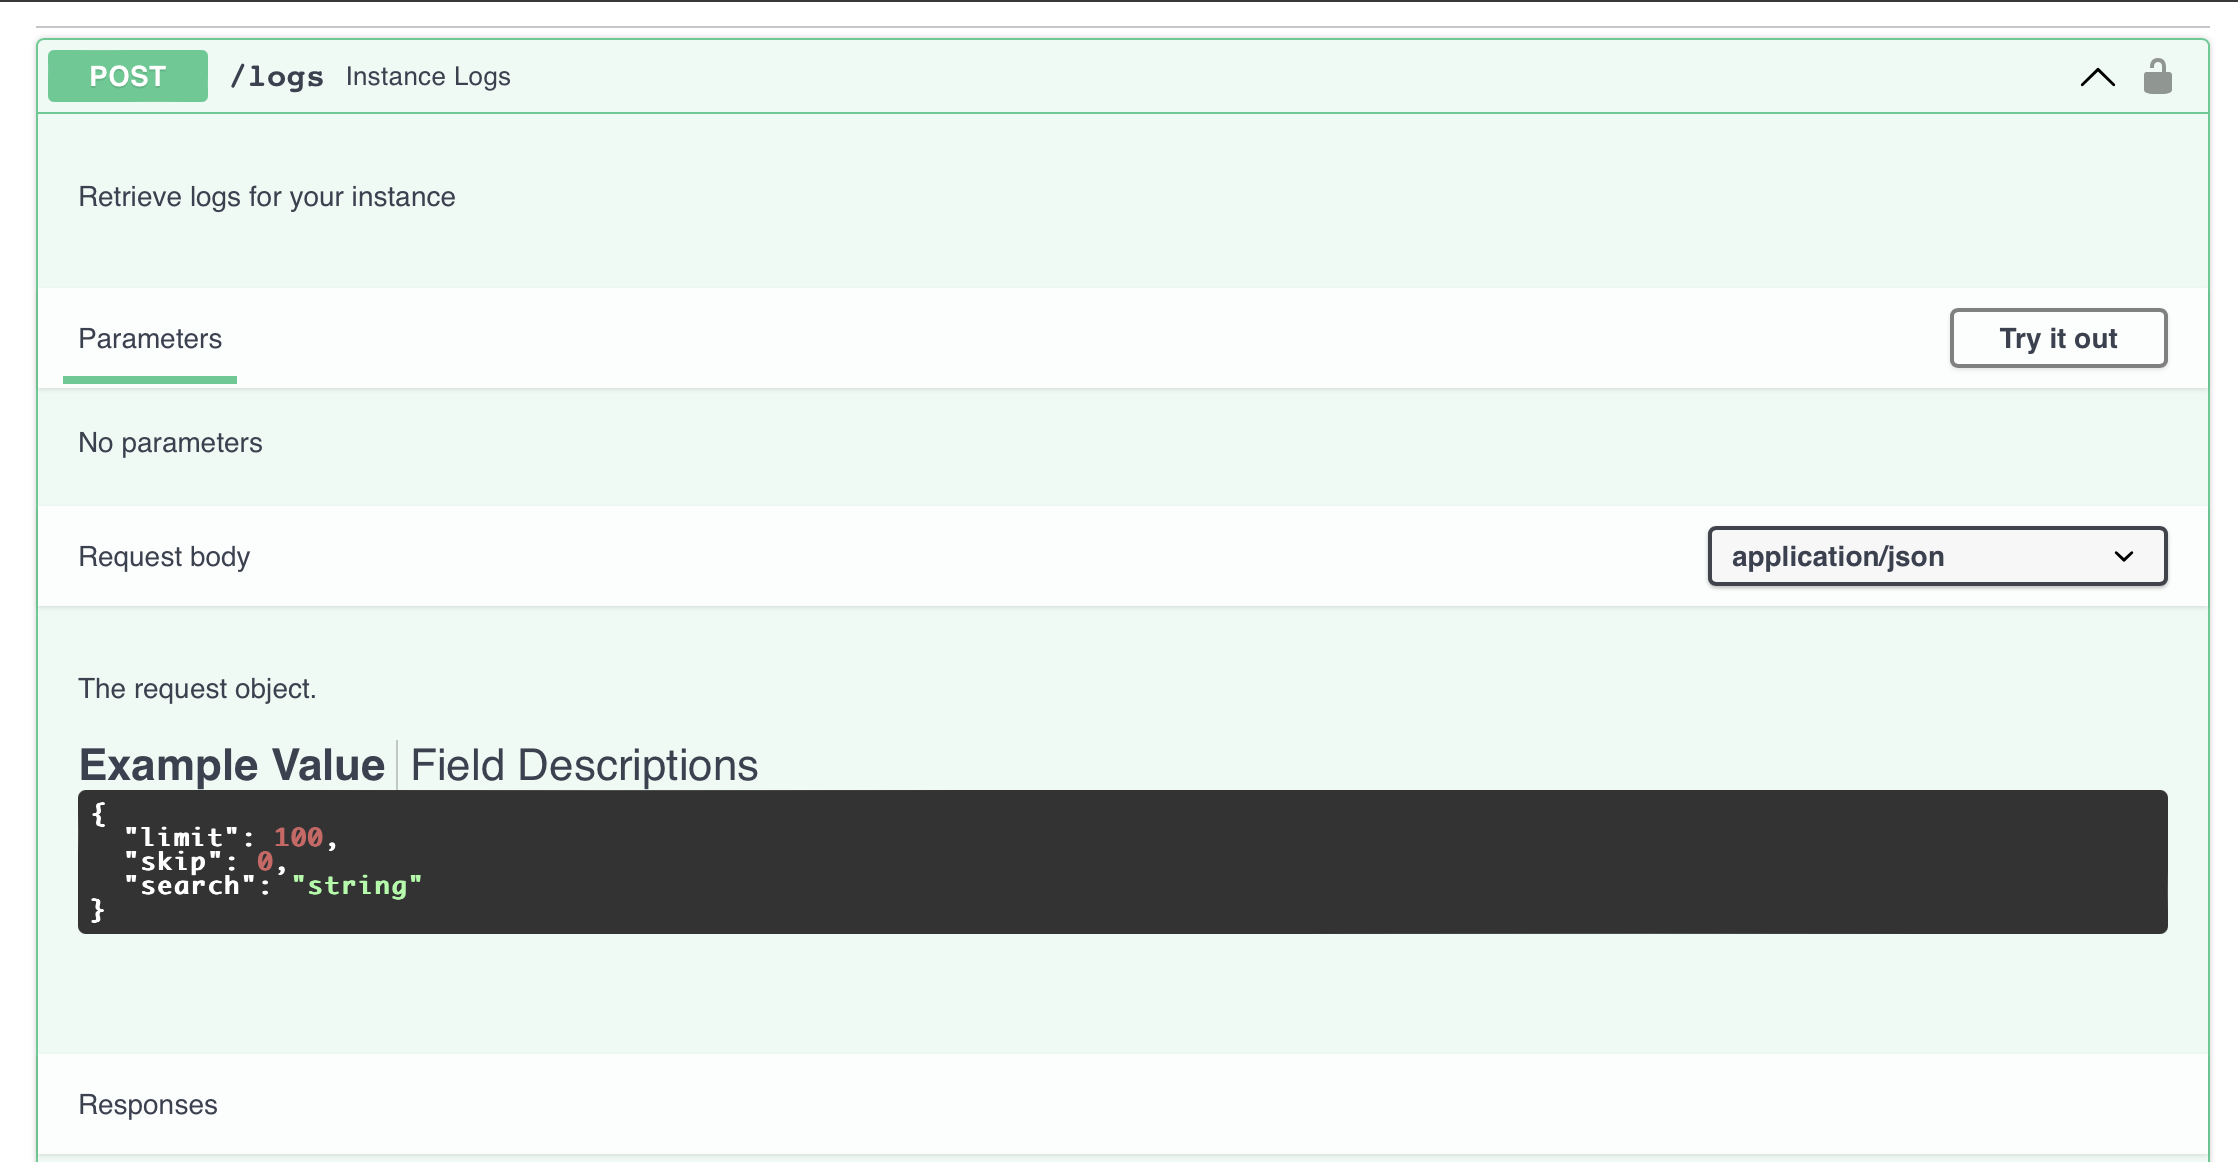
- Scroll to Logs section, click 'Try it out' and then click execute
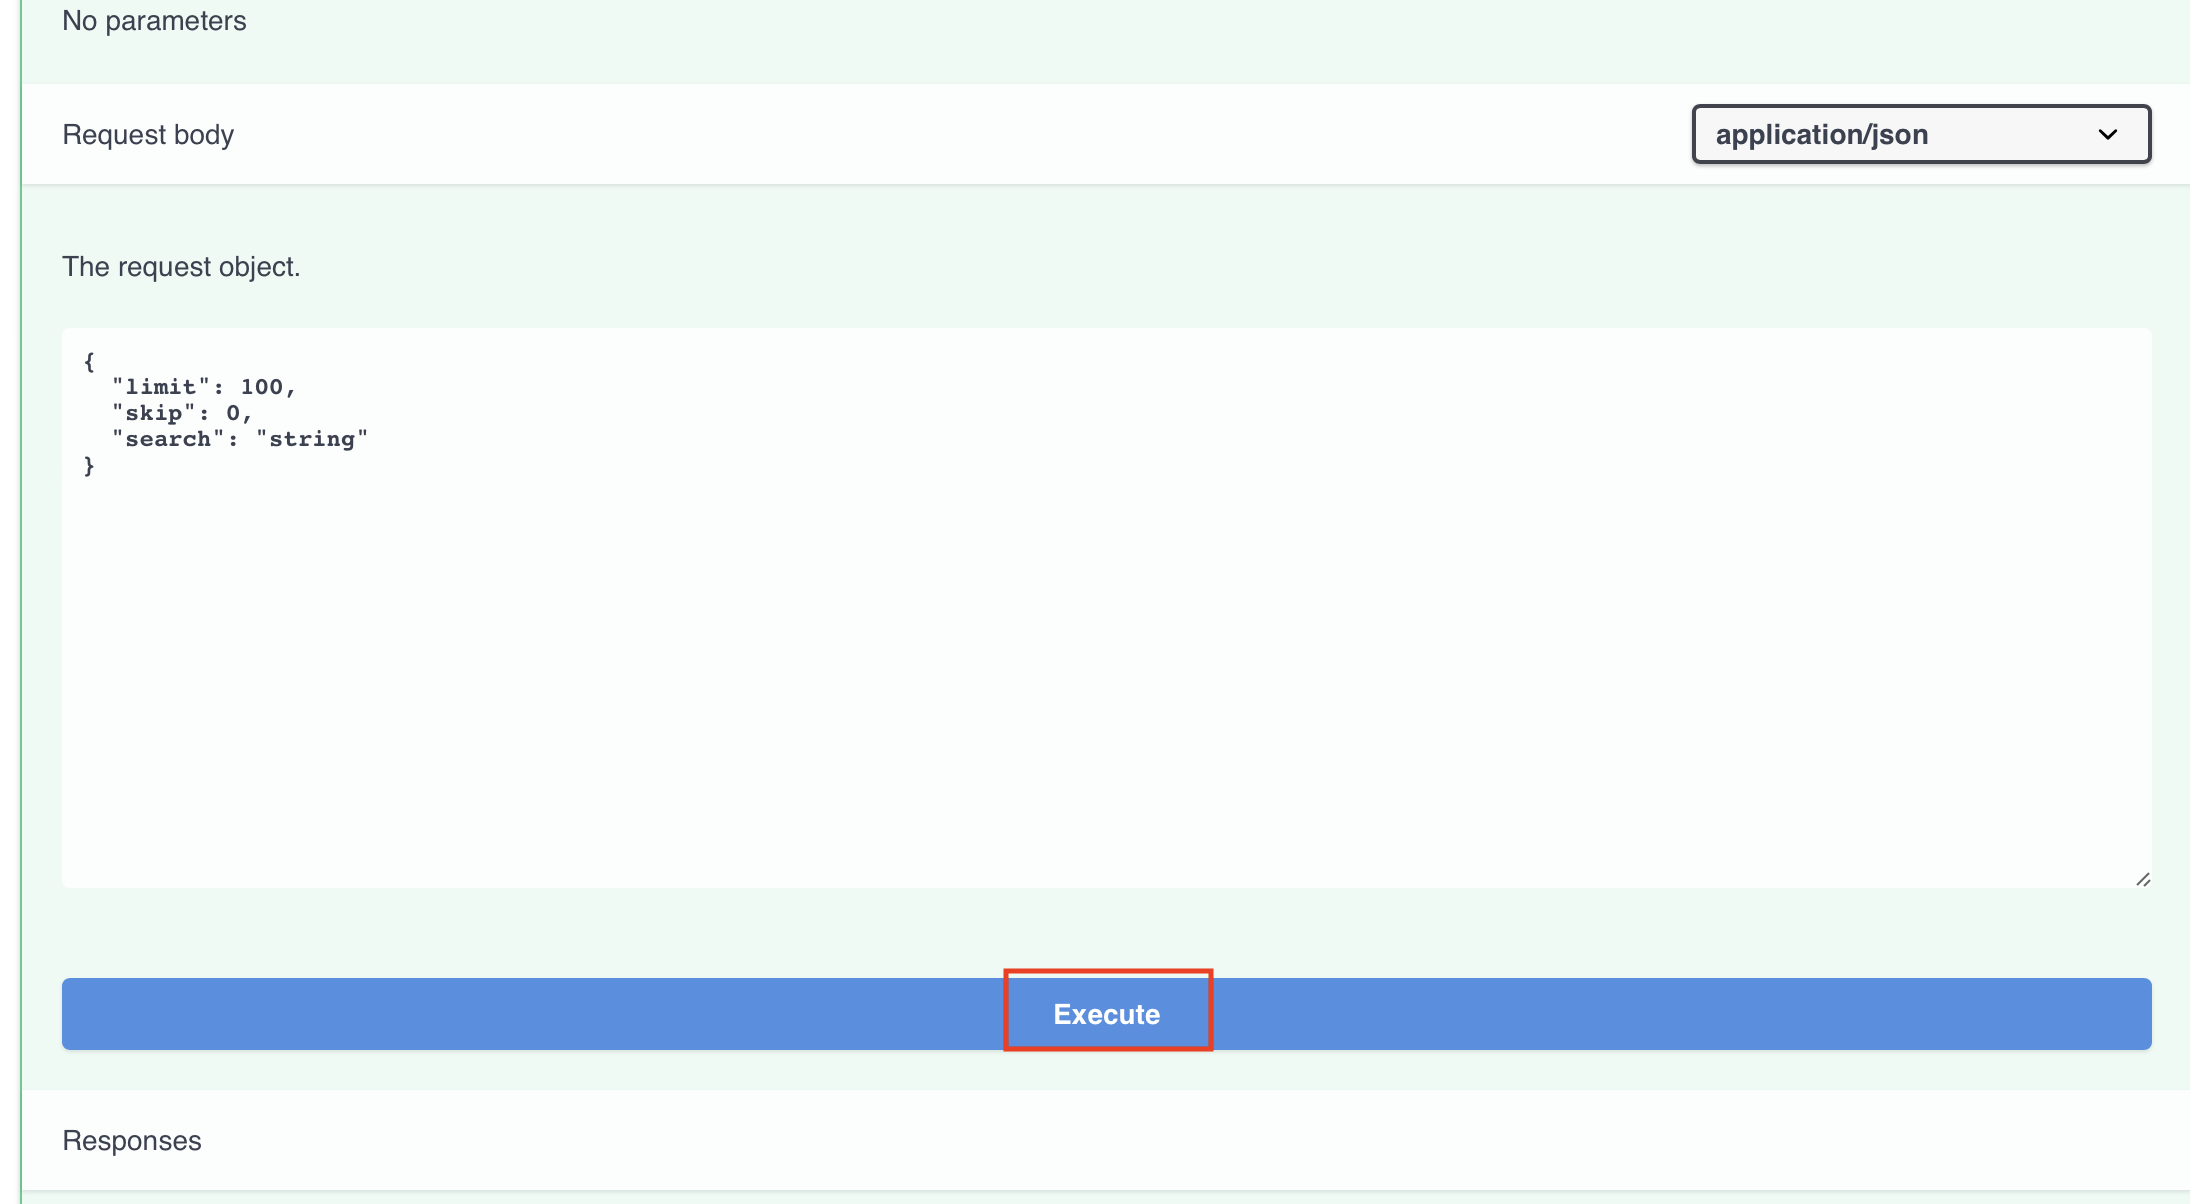
- After execute, you can download logs in json format by clicking 'Download'